In preparation for the optimistic “Big Move of 2012,” I’ve been working on little projects around our condo to fix up and stage the place for when we put our home on the market. I actually did this project earlier last year, but it is relevant to what’s happening now. Plus, Christmas was crazy and I didn’t work on any projects so I had to pull something from the archives. You can relate? This was before blogging days so I was still getting the hang of photographing all the steps. Honestly, still getting the hang of that.
The caulk around my tub was looking a bit icky. Some mildew spots had started to appear and some of the edges were peeling.
 |
| I don't know what's up with that brown stuff. Ick. |

I tried bleaching the area, which helped, but there were still black spots to be seen. No matter how much I scrubbed, the bathtub always looked dirty. Not something I wanted potential buyers to think when they tour the condo.
So I picked up a caulking set at Wally World. I don’t remember the exact price but I think it was around $10-12.

 |
| I had to grab this stuff too! |
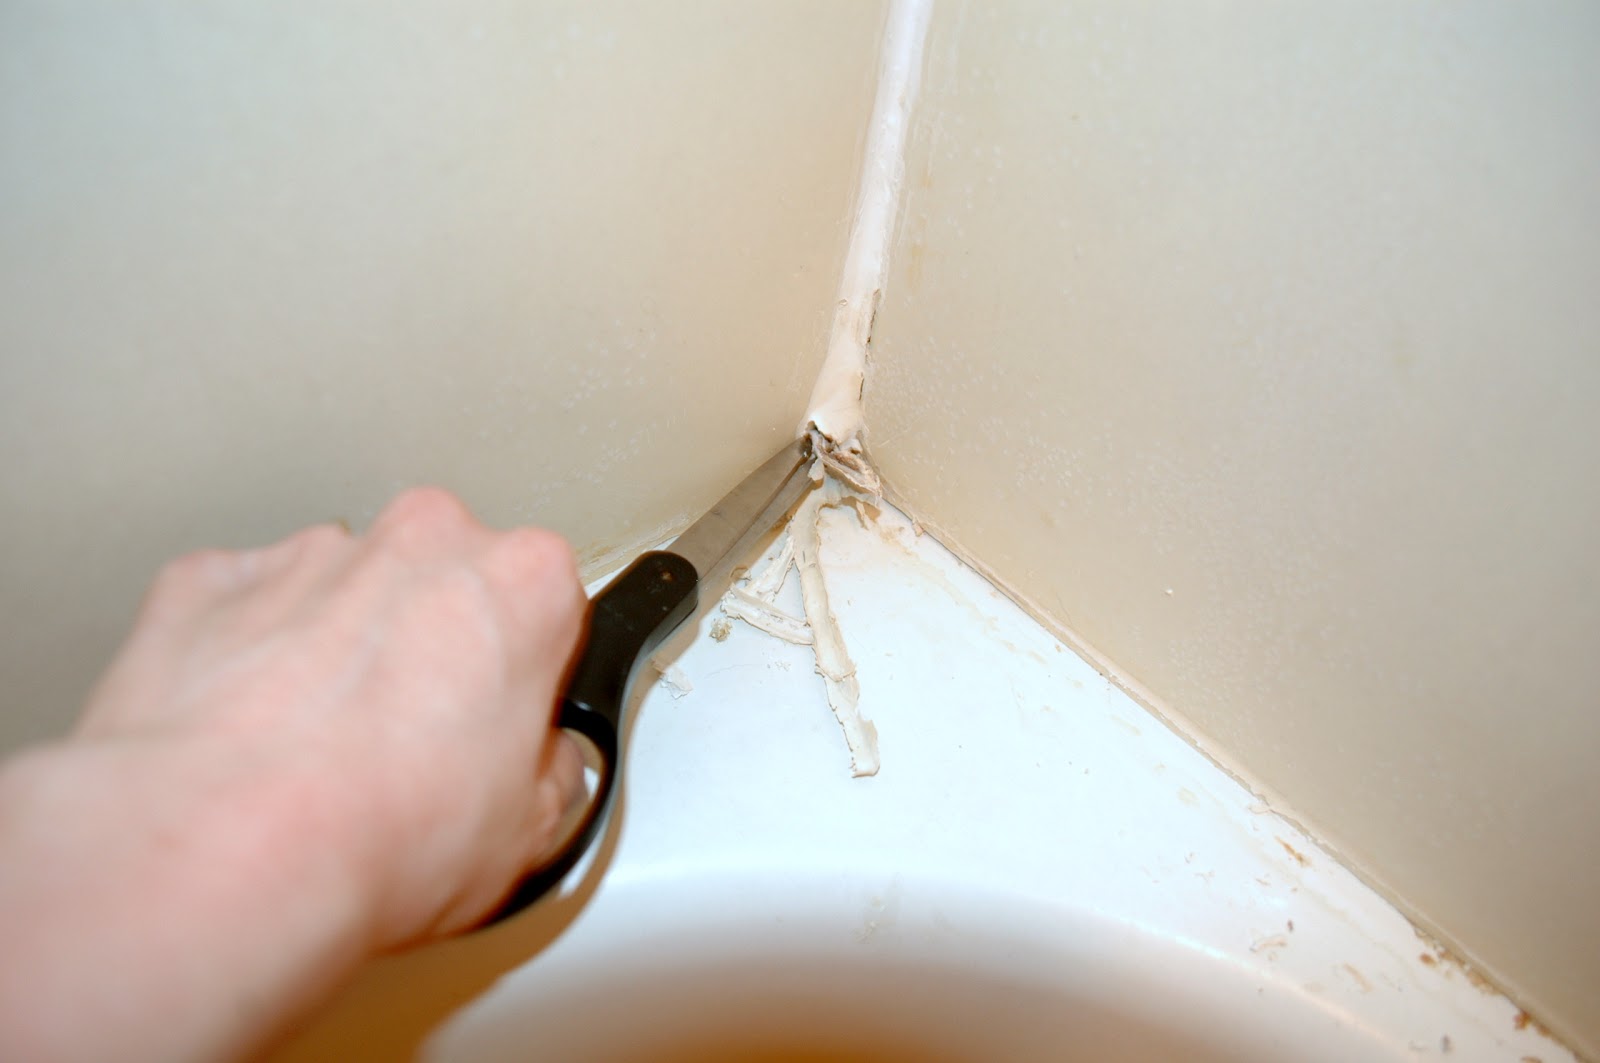
I ripped out the old caulk with the handy tool that came with the kit. I also used a pair of scissors to cut the old caulk at the base of the tub so I could leave the caulk around the walls intact. I wasn’t redoing the entire shower, just the edge of the tub. The rest of the caulk was in great shape.
 |
| I wedged this tool under the peeling caulk and used it to rip it out. |
 |
| Snip snip! |
Then, I attacked the mildew! I used bleach (no wussy stuff here) to spray in the cracks and rinsed with water until the water was clear with no yucky black spots. I let everything air dry for a good 24 hours. I used Husband’s shower in the mean time. Yes, I bathe everyday. Scouts’ honor!
Once I was sure every nook and cranny was dry and mildew free, it was time to get to business. I attached the small tip to the caulk tube because I wanted a very thin caulk line. Then, I applied the caulk around the tub. Easy, peasy, and messy. A pro might have been able to do this without using their fingers, but I’m not a pro. No pics of this part of the process because I had caulk all over my fingers. That would not have been very good for the ol’ Nikon. I used a wet rag to wipe off any oopsies and to give the tub a straight, even line of caulk. It's the same idea as cleaning up paint mistakes.
I closed the door to keep a certain curious fur ball cat out of the bathroom and let everything cure for the time recommended on the tube. I actually let it dry a little longer because I live in the South where it is RIDICULOUSLY humid and sometimes things take longer to dry. Better safe than redoing this project again!

 |
| Still don't know what's up with the brown stuff but I can deal with it now that everything else looks spiffy and clean. |
Ahh so much better and cleaner! I did this little fix up months (and months) ago and it has still held up beautifully. No mildew spots or stains! Now, when buyers peak into my bathroom, they won’t think, “Eww gross.” Hopefully, they’ll think, “WE MUST BUY NOW FOR THE FULL ASKING PRICE.”
A girl can dream, no?


No comments