I need better pictures for my blog. I just haven't been satisfied with the lighting in my photographs. I've been working on a House Tour, taking pictures of all the spaces in my home, but the lighting was just off. I'm not a big fan of flash. It's a necessary evil. I'm aware that photography means "painting with light" but I've always preferred natural light and shadows. I used to tape a few layers of wax paper to the flash of my point and shoot cameras to soften the glare. It looked ghetto but it worked well.
I knew a lightscoop would be the perfect solution, especially when I photograph a room.
A little search on Amazon turned up this:
$30 isn't a bad price but I'm
cheap frugal. Actually, most photographers I know can be that way. You spend hundreds to thousands of dollars on a camera and lens so you have no pennies left for the little things. I've seen photographers with white paper bags over $300 flashes. This works also, by the way.
A little more searching and I found some great DIY versions for much less
here.
 |
| Just some cardboard and foil! |
 |
| It's a deodorant cap! |
 |
| Scroll to the bottom of the page with this link to see the original post. |
Even though the deodorant cap and foil version could be done for free, I wondered how secure and sturdy they would be. The mirror seemed the most durable option but even the poster admitted that you had to stabilize the mirror. I couldn't see myself trying to balance the mirror as well as angle a shot. Too much work for a lazy photographer, such as myself.
I got a light bulb moment while brushing my hair. My little travel brush was portable, durable, had a mirror, and had a "handle" I could cut to fit snugly around my flash. Best of all, these brushes are in plentiful supply at Wal-mart or Target for $1, in the travel toiletries section.
 |
| I got mine from Target! |
Here's what you'll need to transform a purse necessity into a camera bag necessity:
- Round travel brush with mirror
- Scissors
- Craft razor
- White and/or chrome spray paint (We'll get to this later.)
First, I popped out a few of the bristles with the craft razor.
 |
| Step One |
Then, using my craft razor, I cut out a section of the brush. You might need the scissors to clip off the end.
 |
| Step Two, like so. |
I ended up taking out the entire rubber part because it was a bit too tight on the flash (JLYV). Luckily, it was a perfect fit with the entire rubber/brush part gone. I have a Nikon D70S, in case you were wondering. I think the size of the flash is pretty standard on DSLRs but I still recommend only cutting out a little at a time to be sure.
 |
| You'll need the scissors for this part. |
I was afraid the neon magenta would bounce the light with a tinge of color, i.e. give all of my photos a nice pink hue. Not cool, bro. I couldn't find a white one so I knew I would have to improvise.
 |
| Just as I thought. Magenta photo. |
I taped off the mirror section and painted the entire contraption with some glossy white spray paint I had on hand. I used the white as a primer for my chrome color. I realize this may be overkill with two colors but I wanted to make sure there would be no hint of magenta in my pictures. See above photo if there is any doubt as to how bad my photos would look in blush and bashful. Even though glossy white would work well enough, I thought a few good coats of chrome would give me that much more of a reflective surface to bounce light.
FYI, I did all of the painting after the cutting process to avoid damaging the paint. Also, paint the ENTIRE brush. Front and back, so you don't risk bouncing light off the original color.
I recommend white/chrome for brightening your photos of objects or rooms. However, if you do a lot of portrait shots, you could paint it a creamy shade to warm up skin tones. Since I will be using this mainly for non-people related pictures, I chose bright chrome. I may do another one in cream later on down the road.
 |
| There's tiny bit of magenta around the sides but it doesn't show in pictures. I think. |
As previously mentioned in
this post, I live in a frustratingly humid climate. About halfway though painting my lightscoop, it rained (just a bit) and the humidity moved from average to DEFCON super frizzy hair. Coulda used the brush part at that point. It caused the unsightly wrinkles you see in the final product. If this were a piece of furniture or decor that would be on display, I would have
cursed loudly sanded and painted again on a better day. However, this is a tool and will not be featured in anymore photos. I don't want to sweat the small stuff. Progress not perfection is my mantra.
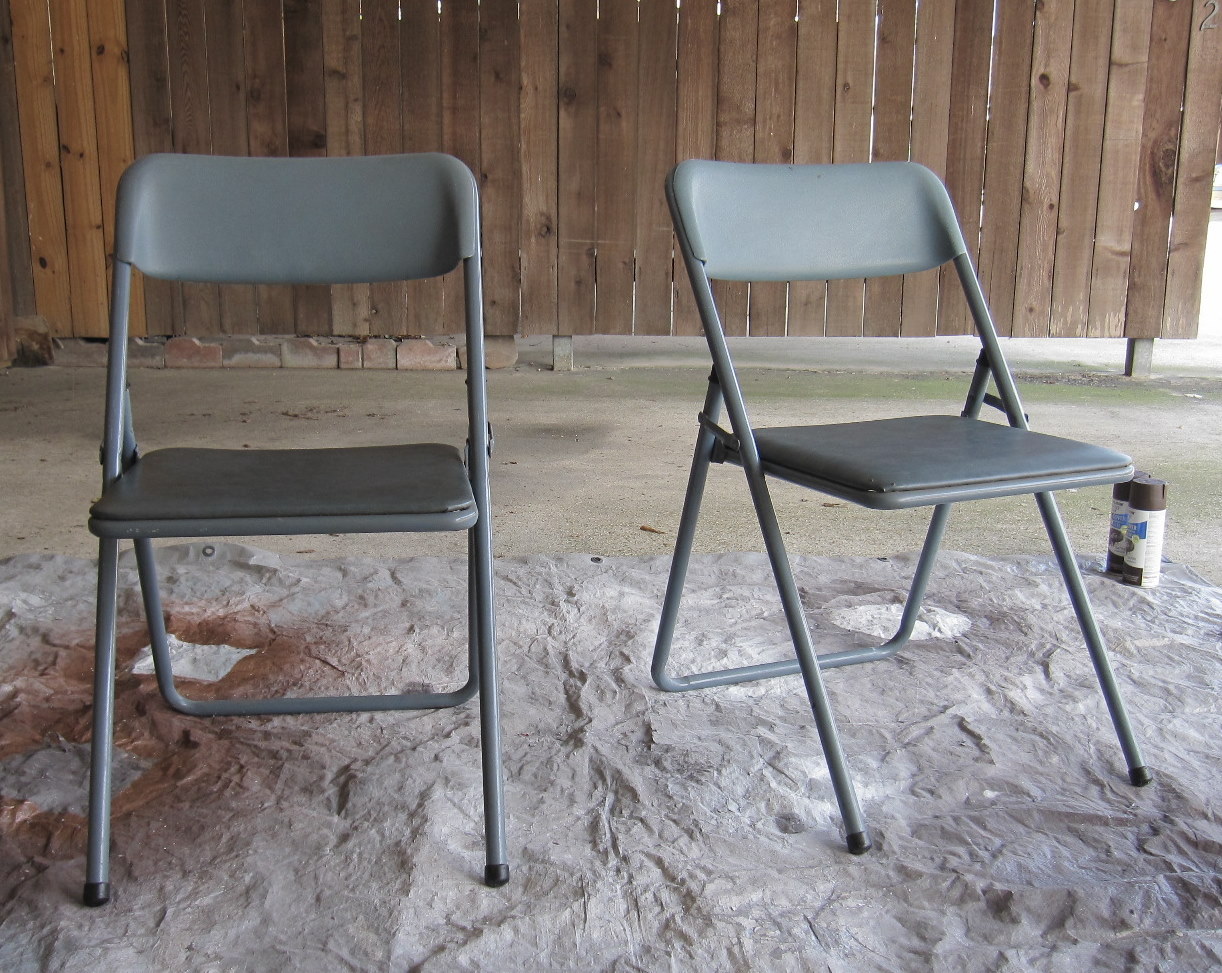
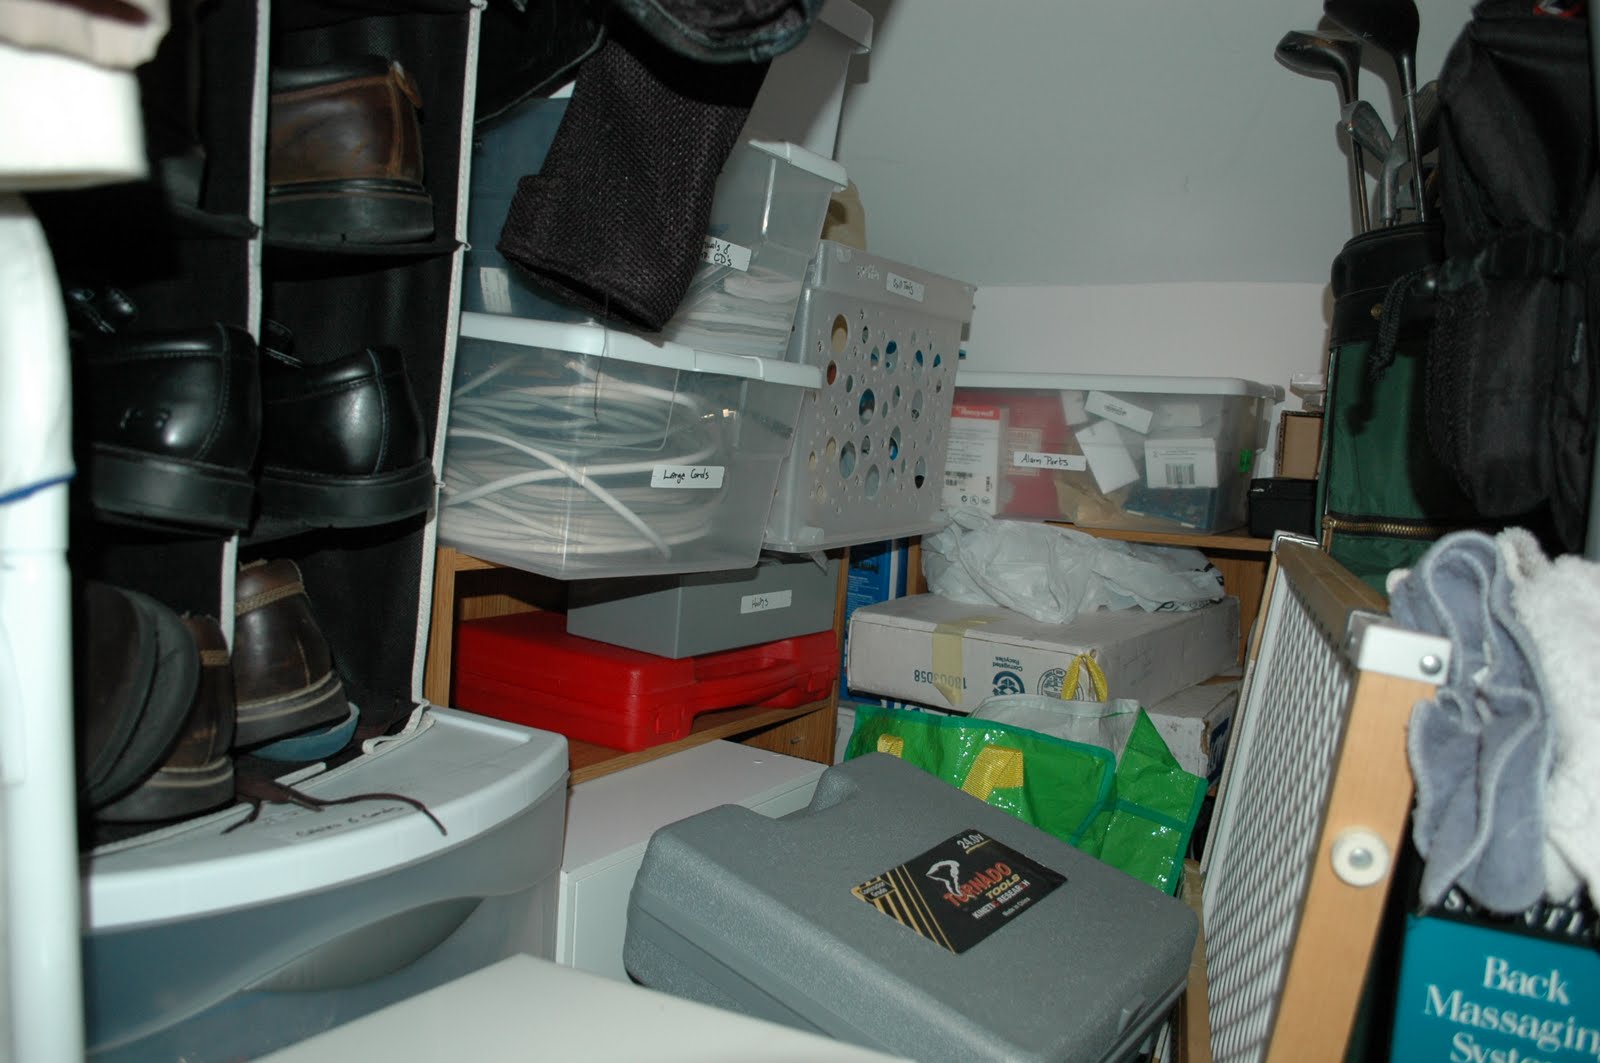
Once it was completely dry, I popped it onto my camera to triple check fitting and test my new lightscoop. Here are some with and without shots to show you the results:
 |
| With the lightscoop. |
 |
| Without the lightscoop. |
What a difference a hair brush makes! Since the paint was on hand, this new piece of equipment only cost me a dollar and a little time! Totally worth it. You have to play around with the angle of the lightscoop a bit to get it right but it's no worse than normal bracketing.
Have you ever tried to make your own "camera equipment"? Have you ever had to rig something for photos? Do tell!