After slapping on a fresh coat of neutral paint in the dining room, the space was looking a little bland. Ok, really bland.
I've always wanted to recover our dining room chairs but haven't been sure what fabric to use. Traditional pattern? Modern? Color? Neutral? Ah I couldn't commit! However, with this very bland dining room, my need for some color helped me narrow my options. I needed some punch/pizzazz but nothing too crazy. I didn't want to feel the need to match my table linens to my chairs. I'm crazy like that.
So I dug around on my favorite discount fabric site, fabric.com! I love that site. They have a great mix of styles and have the lowest prices I can find. Before you ask, no I'm not being paid or perked by the site. I wish.... I genuinely love this site! I found this lovely pattern called Waverly Square Root Sterling.
I think the yellow and gray combo is the right mix of fun color while still being kinda in the neutral family. Plus, I think that's a trendy color combo right now. Or maybe that was last season? I've never been great with trends. This pattern comes in a pink and orange combo, blue and green, and a black and gray mix. Those links aren't all from fabric.com. Sometimes fabric.com has them in stock, sometimes they don't.
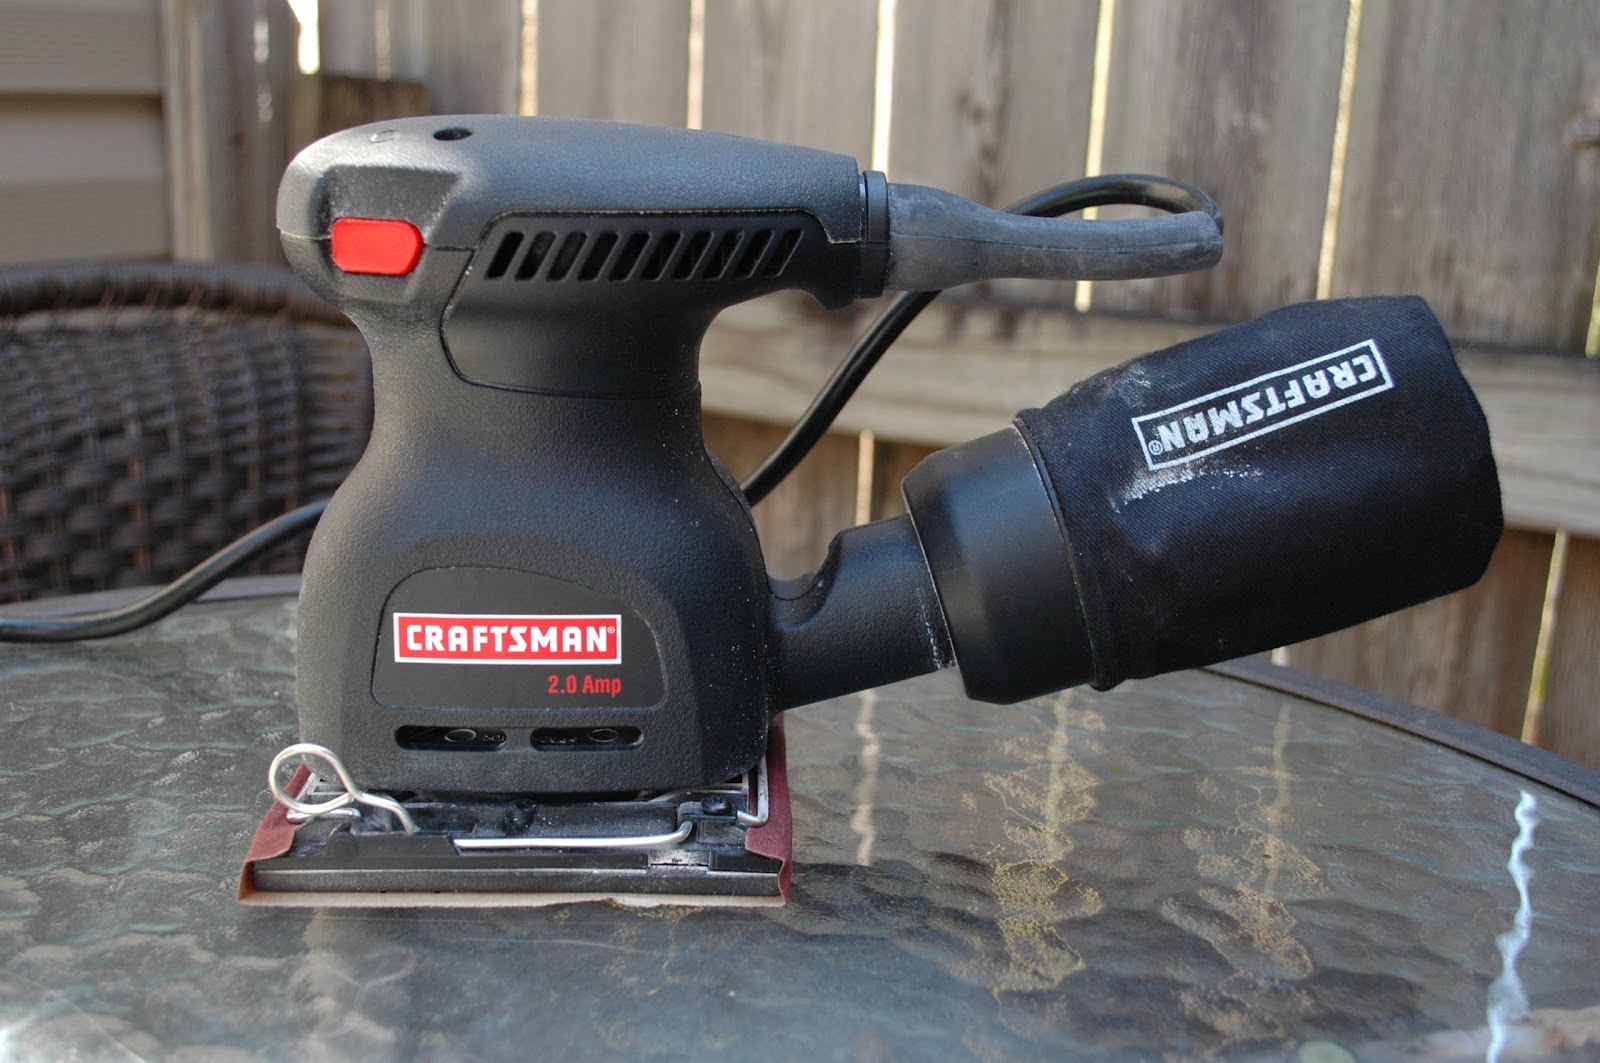
After I got my fabric in the mail (side-note, isn't receiving a package in the mail an awesome feeling?), I was excited to get started. I used my nifty new screw gun to remove the seats from the chairs.

We bought ours from Lowe's and it's been working out well. It is not the most powerful drill but it has awesome battery life and works great for little projects like this. I imagine it would be great for assembling furniture too.
There are about a million chair recovering tutorials out there, so I won't get too detailed about each step. It's pretty straight foward.
1. Cut a piece of your fabric that will fit around your cushion with some overlap.
2. Iron your swatch of fabric so you don't have any annoying creases in your seat. That would not be fancy.
3. Place your seat cushion face down on top of your fabric, making sure you center it with enough overlap to go all the way around. Always check before you staple because it just makes life easier!
4. Put one staple in on one side.
5. Then, pull the fabric taut from the opposite side you just stapled and add a staple to that side. The trick to get it right is pulling your fabric nice and tight, but not so tight you strain/rip the fabric.
6. Keep stapling around the seat, switching to opposite sides and pulling the fabric taut. Don't hesitate to flip the cushion over the check the state of your pattern. Remember, it's much easier to take out five staples instead of fifty!
7. Once you fabric is stapled down, just reattach your seat to your chair and prest chango columbo, you have a new chair!

I timed it, by the way. It took my 5:09.5 minutes to recover one chair, with no picture taking and one stop to break up a cat and dog fight. If you hate doing math and trust mine (which is not a great idea but I get it you're brave), it took me less than 30 minutes to do four chairs. I added some time for blogging and refereeing.
I love a good before and after!
I think the dining room is looking much brighter and happier!
I also picked up this new gray runner and a yellow one from Target.com because, apparently, I'm on a gray and yellow kick.
I'm adding more color and brightness to the dining room soon by way of new fabric for the bench cushions. I can't wait! It's sooooo pretty, kids. And I just waved my freak flag by become giddy about fabric. Oh how far I've come.
2
 |
| This was before the lighting switch I blogged about here. |
So I dug around on my favorite discount fabric site, fabric.com! I love that site. They have a great mix of styles and have the lowest prices I can find. Before you ask, no I'm not being paid or perked by the site. I wish.... I genuinely love this site! I found this lovely pattern called Waverly Square Root Sterling.
 |
| If you like this pattern, get it here! |
After I got my fabric in the mail (side-note, isn't receiving a package in the mail an awesome feeling?), I was excited to get started. I used my nifty new screw gun to remove the seats from the chairs.

We bought ours from Lowe's and it's been working out well. It is not the most powerful drill but it has awesome battery life and works great for little projects like this. I imagine it would be great for assembling furniture too.
There are about a million chair recovering tutorials out there, so I won't get too detailed about each step. It's pretty straight foward.
1. Cut a piece of your fabric that will fit around your cushion with some overlap.
2. Iron your swatch of fabric so you don't have any annoying creases in your seat. That would not be fancy.
3. Place your seat cushion face down on top of your fabric, making sure you center it with enough overlap to go all the way around. Always check before you staple because it just makes life easier!
4. Put one staple in on one side.
 |
| Putting your first staple in the center is your best bet. |
5. Then, pull the fabric taut from the opposite side you just stapled and add a staple to that side. The trick to get it right is pulling your fabric nice and tight, but not so tight you strain/rip the fabric.
 |
| Can I tell you how difficult it is to take picture and staple at the same time? IT'S HARD YA'LL. Which is why I'm not actually stapling at this moment. That's right. The shot is staged. It's all fake! Smoke and mirrors! The cake is a lie!! |
7. Once you fabric is stapled down, just reattach your seat to your chair and prest chango columbo, you have a new chair!

I timed it, by the way. It took my 5:09.5 minutes to recover one chair, with no picture taking and one stop to break up a cat and dog fight. If you hate doing math and trust mine (which is not a great idea but I get it you're brave), it took me less than 30 minutes to do four chairs. I added some time for blogging and refereeing.
I love a good before and after!
 |
| *yawn* |
 |
| *yay!* |
 |
| Except that these pics were taken at night. Details, details... |
I'm adding more color and brightness to the dining room soon by way of new fabric for the bench cushions. I can't wait! It's sooooo pretty, kids. And I just waved my freak flag by become giddy about fabric. Oh how far I've come.