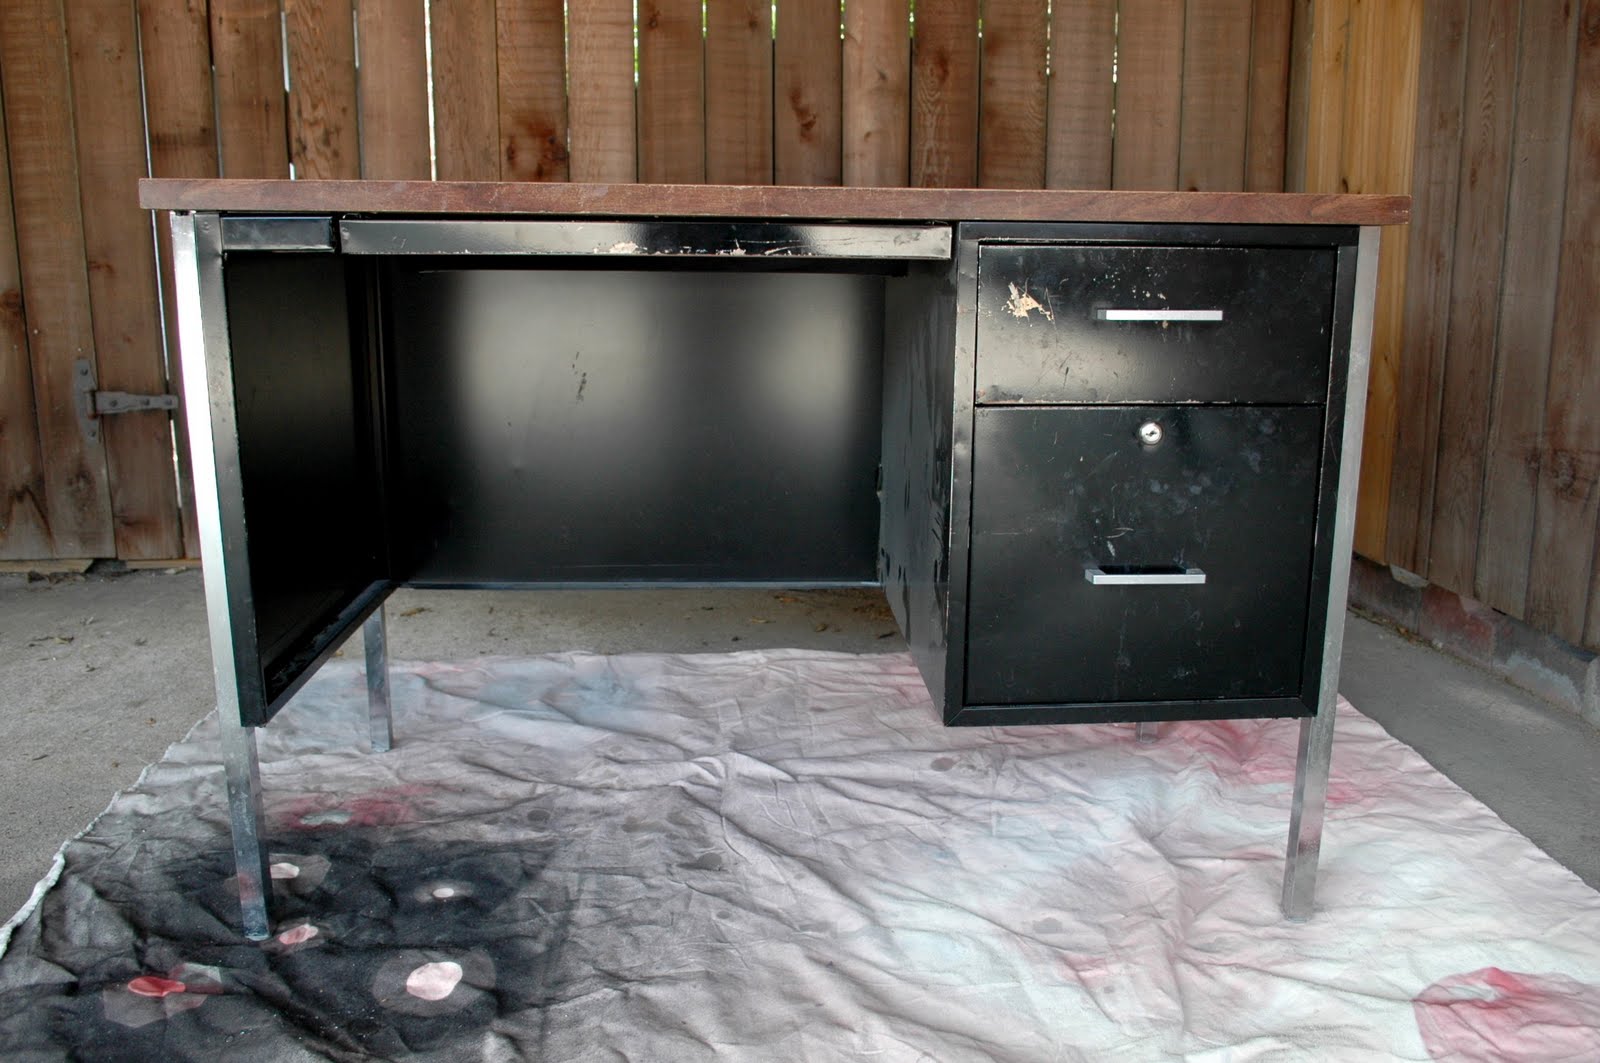
After bringing my lovely new desk with extra drawer space for supplies into the office , I needed to rearrange a few things in my office closet thanks to some brand spanking new space. I store my extra craft supplies, home décor store, camera equipment, gift wrapping supplies, and a few other misc. junk in this particular closet.
I don’t have any notable before pictures because the closet was in pretty good order before. I just tweaked it a bit. Here’s a little tour!

I didn’t do much to alter the space because I wanted to keep the closet intact for future buyers. Hence the reason no custom shelving units have been installed, although those are pretty nice to gaze upon.
 |
| Source |
 |
| Source |
 |
| Source |
 |
| Source |
I simply picked up a shelving unit from Lowe’s and threw it in there. When we put the house on the market, we can remove the shelving to turn it back into a regular clothes closet if we need to for staging purposes. I removed the doors to make the back corners accessible but I didn’t get rid of them. Just in case the new owners prefer closet doors. Strange, I know, but you can’t be too careful. The doors are hidden in the back of another closet. Everyday I’m shufflin’.
I installed a plain tension rod and hung up some curtains I bought at World Market, which I don’t see online but still see in our local store. The curtains help conceal any clutter that may arise, like when I take on too many projects at once. Not that that ever happens. *cough*
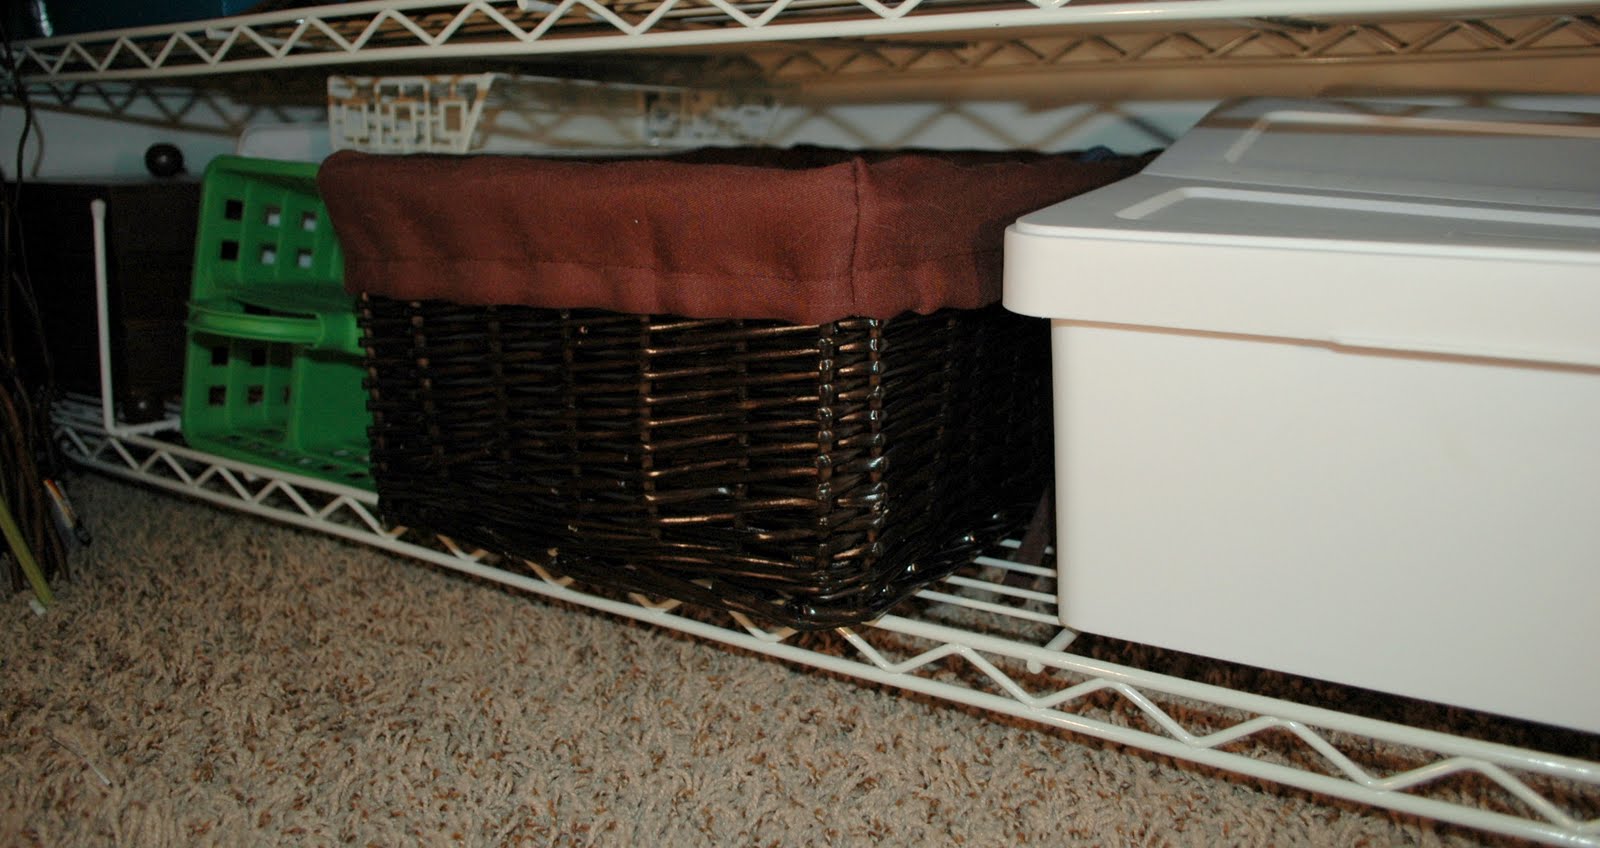
I went with white storage containers to keep everything neutral and easy to coordinate. The solid white boxes are from Wal-mart, also not online apparently, and the patterned white boxes are from the Container Store, available here.The white baskets are from Target, available here and even here. I love these baskets because you can stack or nest them. Very versatile!
I keep our luggage and some boxes with sentimental keepsakes on the very top shelf. Easy to get to but out of the way, just like I like my men. What? I don’t know, moving on.


The next shelf holds supplies for jewelry making, random leftover craft supplies, a few tools, sewing supplies, gift boxes, and random gifts I keep in stock.
 |
| The silver bucket holds tools and came from the Target dollar section. I love that section. |
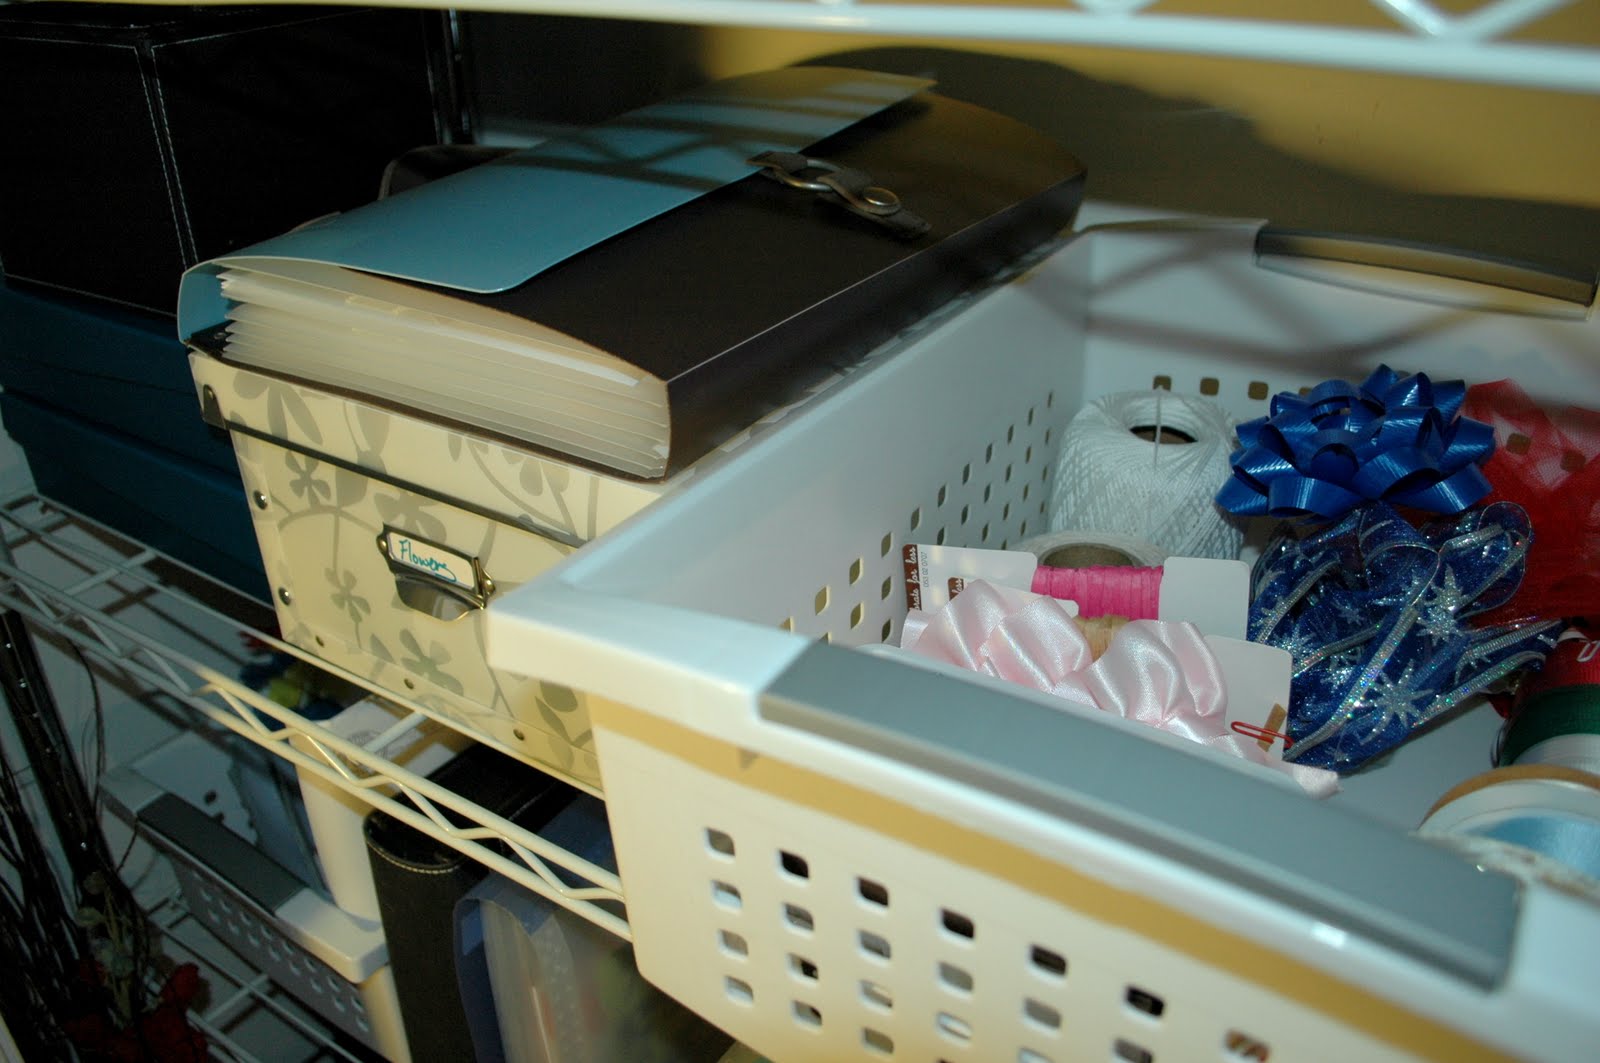
Next, I keep my art supplies together in a large basket to make it easy to bring all of my art supplies where ever I feel inspiration might strike. I also have a box full of fake flowers, basket o' ribbons, and my greeting card storage, detailed here.


Continuing to the next shelf, I store some of my scrapbooking supplies such as paper, pages in progress, and books in progress. The white baskets hold photos and things I want to add to my scrapbook, such as ticket stubs.

Continuing to the next shelf, I store some of my scrapbooking supplies such as paper, pages in progress, and books in progress. The white baskets hold photos and things I want to add to my scrapbook, such as ticket stubs.

I keep my scrapbook paper organized by color in this sorter.

Pages in progress are stored in a simple 12x12 container to keep every thing safe and dust free until I (eventually) finish them.

Below that, I keep home décor items not currently in use. I like to rotate that kind of stuff to keep things fresh. It’s not a weekly habit or anything. Just when I feel like I need a change. Having my own “décor store” keeps me from buying junk I don’t need or, at least, it’s supposed to help. I used to keep this stuff in baskets but I find I prefer to have them out so I can see what I have and enjoy these items, whether on display or not. Makes me feel like I got my money’s worth.

Last but not least, probably my favorite shelf, my organizing items. These are baskets and bins that I keep on hand when I get the urge to reorganize. Just like my home décor, it isn’t a weekly thing but it happens often enough to justify hanging on to a few things. I don’t keep more than I can store on this shelf. That has lead to some hard but necessary purging. I suppose that’s called being an adult? Whatever.
 |
| Small organizing solutions are kept in an itso bin from Target, to make it easy to grab what I need for a quick organizing session. |
I use some pot hooks from Bed Bath & Beyond (available here) to hang my bag with various camera equipment, portfolio, and mini light studio on the side of the wire shelves.

I ordered two of these inexpensive yet effective gift wrap organizers from Amazon. I believe they were cheaper when I bought them but that was a long time ago. Larger gift bags are hung on another hook.
 |
| One for Christmas and one for everything else. |
Behind my gift wrap, I store my wedding dress, evening gowns for Mardi Gras balls, and extra pillows. A clear bin on the floor stores my fabric remnants.
I haven’t decided what to do with my wedding dress yet. I doubt my future daughters or daughters-in-law will want to wear them at their wedding, considering (if I have kids) that will be about 30+ years from now. I’m sure I’ll be completely out of style by then, if I’m not already. I’m torn between having it hemmed and dyed to wear as a regular dress, a la Sherry from younghouselove, seen in this post. Or I may cut up the dress and use the lacy top part as a background in a shadowbox, which I would fill with little keepsakes from our wedding. I like the idea of still being able to wear the dress but I might enjoy it more if it was on display for years to come. I may not always be a size 4 and able to wear the dress for that much longer. Ah aging metabolisms. Until I decide, it shall stay safely tucked away in the back of the closet. I swear I’ll make a decision soon, like maybe the next 20 years or so.
I haven’t decided what to do with my wedding dress yet. I doubt my future daughters or daughters-in-law will want to wear them at their wedding, considering (if I have kids) that will be about 30+ years from now. I’m sure I’ll be completely out of style by then, if I’m not already. I’m torn between having it hemmed and dyed to wear as a regular dress, a la Sherry from younghouselove, seen in this post. Or I may cut up the dress and use the lacy top part as a background in a shadowbox, which I would fill with little keepsakes from our wedding. I like the idea of still being able to wear the dress but I might enjoy it more if it was on display for years to come. I may not always be a size 4 and able to wear the dress for that much longer. Ah aging metabolisms. Until I decide, it shall stay safely tucked away in the back of the closet. I swear I’ll make a decision soon, like maybe the next 20 years or so.
In case you’re curious, here’s a pic of the dress.
 |
| Wouldn’t all of the lace make a lovely backdrop? I’m almost sold on that idea. Photo by my amazing photographer (and dear friend) Eri Photography. |
So, there you have it. A peak inside my office closet. Thanks for stopping by!