I guess, since this is a DIY blog and all, I could post something DIY related.
Even though I haven’t been posting DIY stuff (what will all of the pets and anniversaries and whatnot), I promise you that things have been going on in Casa Comeaux of the home improvement variety. Husband and I have been wrapping up some projects around the condo because we want to put it on the market ASAP. We keep seeing homes go on the market and we’re like, OOooOO! Look how pretty! Too bad we can’t get attached because it will probably be sold before we can even list our place!
You may think we’re being dramatic but that exact scenario has happened to us a few times already. Husband has shown me listings to ask what I think about them and I tell him, I can’t fall in love again. It hurts too much.
We’ve been working non-stop to whittle down our list. We had a couple of weekends where no progress was made, even though we worked our buns off. The beginning of April was a very frustrating time for us. So frustrating that one weekend I just crapped out. I did nothing. I felt like nothing. I laid in bed most of the day on Saturday and felt very blah. There is no better way to describe it other than…blah. Do you ever get that way? Do you just gas yourself out so that you have nothing left to give? I couldn’t even blog, even though there were things to blog about because, did I mention we were always working?
Well, now we are on the other side of our to do list (meaning more things done than to do) and things are looking up! So here’s a little wrap up of what we’ve accomplished to help keep me motivated in these last few weeks. These kinds of posts help remind me that progress is being made and helps with my blahs. These are just a few things little things we’ve done to the condo.

We patched a hole in our wall. I won’t go into details about how the hole came about (for Husband’s sake) but we required some plumbing work in the kitchen a long time ago and we took a long time to fix the hole. The hole is under the built in desk in our living room and behind Ty’s kennel. So, it wasn't visible at all. Out of sight out of mind, right? Potential buyers may not agree or like having a giant hole in their living room so it had to be fixed. Husband’s friend, Adam, came over and showed us how to do a floating patch. It’s a fairly easy process.
 |
| This is Adam. Everyone say hi! |

Next, you need to make a second set of marks about an inch or so outside of your initial marks. This is going to be your “tape,” I guess you could call it.
 |
| Here's a little diagram from Adam to help illustrate your marks and what they do. |

Once you make these cuts, you can break and peel off the drywall bits while still leaving the tape.

 |
| This is what you end up with. |
Then, you use some mud and the drywall tape to float the patch inside the hole. You want to apply mud a little farther out than your patch so you can blend it in more easily. Smooth out the mud as much as you can so you can do less sanding later on. Please note, this patch will not be strong enough for hanging a picture or shelf or anything. This patch works perfect for this spot though. I don’t plan on putting any pictures down there.
 |
| Ty wants to become a DIY dog so he's learning the ropes. |
 |
| Can't even tell! Except for the missing molding, which is on the To Do list. |
Viola! All done. Thanks Adam!
Some other things around the abode include:
· Putting a fresh coat of paint on the patio furniture.

I originally posted about all of the work we did here but some cracking and peeling had occurred since then. I wanted everything freshly painted so the patio wouldn’t look cracked or peeling. I even sanded and primed the loungers! Yay for proper prep work!
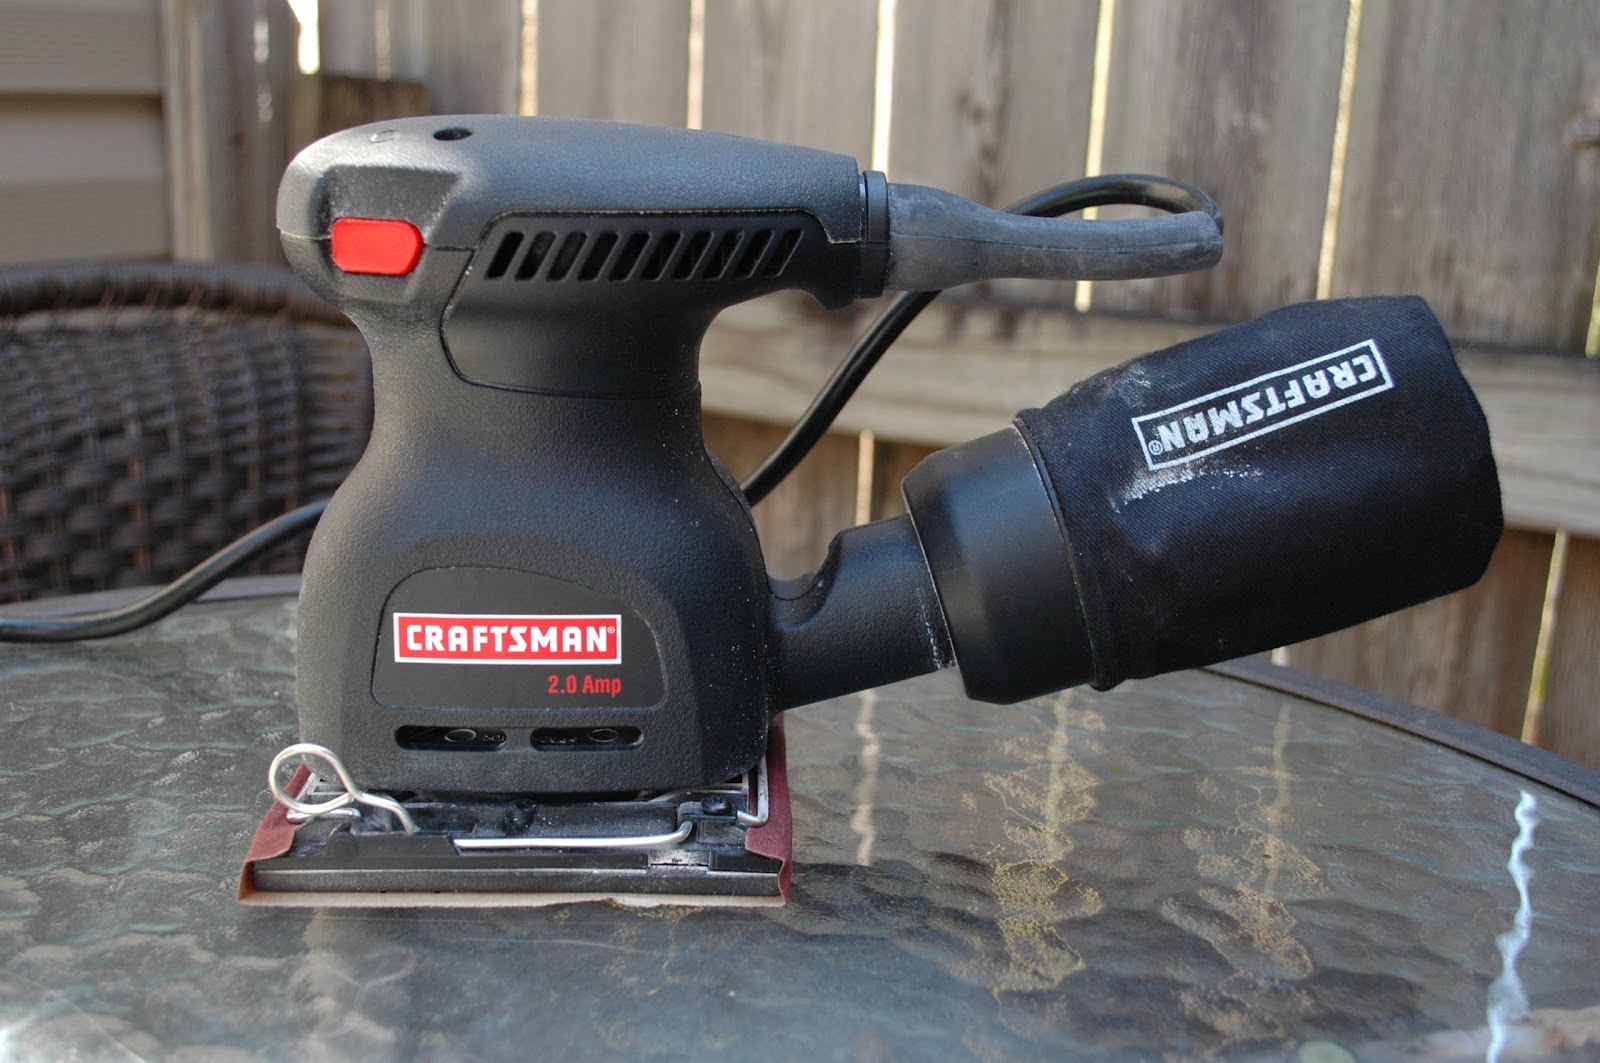 |
| I mostly did these extra steps because I got a hand sander for Christmas and was dying to finally try it out. Whatever works, eh? |
· We finally fixed Husband’s closet doors and cleaned the junk out. It still needs a little sprucing up but it's a big improvement. More details to come!

· We fixed a hole in our ceiling.
 |
| I promise it came out better than this. |
· I painted the cabinets in our bathrooms. Same color, just a fresh coat. The cabinets had some chips and dings but nothing a fresh coat of clean paint couldn't fix!
· We changed out our dining room light.
 |
| Freshly painted cabinet in our half bath! |
 |
| Refreshed cabinet in my bathroom! |
· We changed out our dining room light.
 |
| The Before |
 |
| Via here |
That might seem harsh but I was no help whatsoever. Zip zilch NADA. I actually got in the way a bit.
Even though I took pictures of the process, I don’t feel comfortable trying to give anyone any kind of instructions. Although our house hasn't burned down, I’m still not confident about what I learned. It’s cool though because we have fire monitoring at home.
I’m happy with the results though! This may not be the light fixture I would choose for our forever home but it will certainly do for our let’s-just-list-the-damn-place-already home.
 |
| It's also the closest match to our existing fixtures, which we are not about to switch out. |
· I changed our entryway to look more like an entryway. Our old set up worked ok but never great for me. It also didn’t look like your standard entryway.

I thought a bench would be the best way to show, hey you CAN fit an entryway in this dining room. I found this awesome one at Bed Bath and Beyond for about $80 ($64 with a coupon!). It has three cubbies and two lift up seats with more storage.

I also picked up a hook rack for coats and such. I really like our new entryway and it’s easier for me to toss my bags on the bench and they still look neat. I plan on recovering the cushions so the room isn’t so beige. I know we wanted this room to be more nuetral but there is a limit for us.
 |
| I just ordered some bright and fun fabric to cover the cushions. I can't wait to share the results! |
That's just some of the stuff that has been going on while I took an unintentional blogging hiatus! Those seem to happen a lot lately. Don't judge.


Wow, you've been accomplishing so much. Good luck on getting it ready to sell. It looks like you're on your way. Good thing you have someone so handy to help out! I found you through Delightful Order's link party. Hope you'll stop by Quirky Vistas and visit me as well!
ReplyDeleteLiz
Thanks! It is definitely nice to have a helping hand. Glad you could you find me and I will check our your site too!
DeleteIsn't the blog community great?
We've had plumbing work last week. And like in your case, we also needed to tear apart some part of the wall in our kitchen in order for us to fix the pipe problem efficiently. Anyway, it's good to have a friend like Adam because he was able to give you the solution you needed. I liked how he illustrated the work. It's as if he knows he'll be featured in one of your blog posts. Hehe!
ReplyDelete