 |
| Ty is going to help me take you on a tour! |
In an effort to give the condo more “living” space, I decided the patio needed a makeover! Here’s what I was working with.

Absolutely nothing. Zip zilch nada. My husband kept his bike and a small charcoal grill out here. Other than that, it was merely a pass through from the carport to the house. This picture was taken right after my father-in-law pressured washed it a few years ago.
The obstacles:
1. The patio gets a lot of sun, so it gets really hot. It was hard to spend any length of time out here without sweating profusely and burning my delicate (ha!) skin.
2. There isn’t an enormous amount of space, but there was definitely something to work with.
3. Budget. Isn’t that always an obstacle?
The lack of anything in this area could be seen as an obstacle but I figured it’s easier to work with a blank slate.
The Plan:
1. Create a dining area for entertaining.
2. I wanted a lounging area for me and the Husband because I love the idea being able to sit out here with a few drinks and just enjoy our little bitty oasis.
3. Create some shade. Seriously, it gets A LOT of sun. We needed an area where we could escape from the skin-searing rays.
4. Bring some plants/greenery into the space to give it some life.
5. Show potential home buyers how useful this space can be!
After my father-in-law so generously power washed our patio to make it sparkle like new, I created a nice little dining area with a DIY canopy. I chose a small table because a.) it was free from my parents and b.) a smaller table fit better in the space.
 |
| It's still big enough for snacks and beer. The important things! |
 |
| Details about how I made the canopy part one and part two. |
I originally bought two of the chairs at Big Lots for $10 each last year. I kick myself for not buying four at the time but it worked out in the end. Here’s a picture of what the chairs looked like when I bought them. My parents just happened to have the little table that matched perfectly and they weren’t using it anymore. It was kismet, I tell you.


When I realized four chairs would be better than two for entertaining (a year later *ahem*), Big Lots sadly no longer had my $10 chairs. They did, however, have a couple of dark brown chairs in a similar style for $20. I spotted something wrong with one of the arms and kindly asked if I could get a small discount on the chairs because of the defect. I admit, I was a little nervous to ask at first, but I’m glad I did. They took 20% off of both chairs, even though only one had the defect! It wasn’t a huge discount but, as my mother always says, better in my pocket than theirs! If you don’t want to do the math, I got the chairs for $16 each.
All I needed to do now was paint my chairs to match. I knew, thanks to my extensive spray painting, that some ORB (Rustoleum Oil Rubbed Bronze) spray paint would match pretty perfectly to my new discounted chairs. A few coats on the old chairs and table were all it took to have a matching set for less than $60 (price of paint included).

Not too shabby, eh?
Another freebie came from my in-laws in the form of these awesome lounge chairs. They had just bought a new set of outdoor furniture and asked if we would be interested. Of course I said yes because, hello! Free patio furniture!

I loved the red but they needed a little refreshing. So I sanded and painted them in a bright red to give the patio a much needed pop of color. Then I found some striped cushions at Target for about $30 each. Unfortunately, they don’t carry this particular style anymore but I’ve seen some nice alternatives at Wal-Mart and Big Lots.
*Tip: I keep my cushions stored on a hook on the inside of my shed door. This keeps them from getting yucky or faded, when not in use.
Here’s the comfy after!

I bought the side tables in between the chairs from Ross. They were a blindingly bright turquoise. I simply painted them with a few coats of flat brown spray paint. I hope to stumble upon a gorgeous garden stool to replace the smallest table. Patience is a virtue I struggle with on all projects.

There’s also a nice, covered area for my husband’s grill with a spotlight to the side for any night grilling we might do, which is almost none.

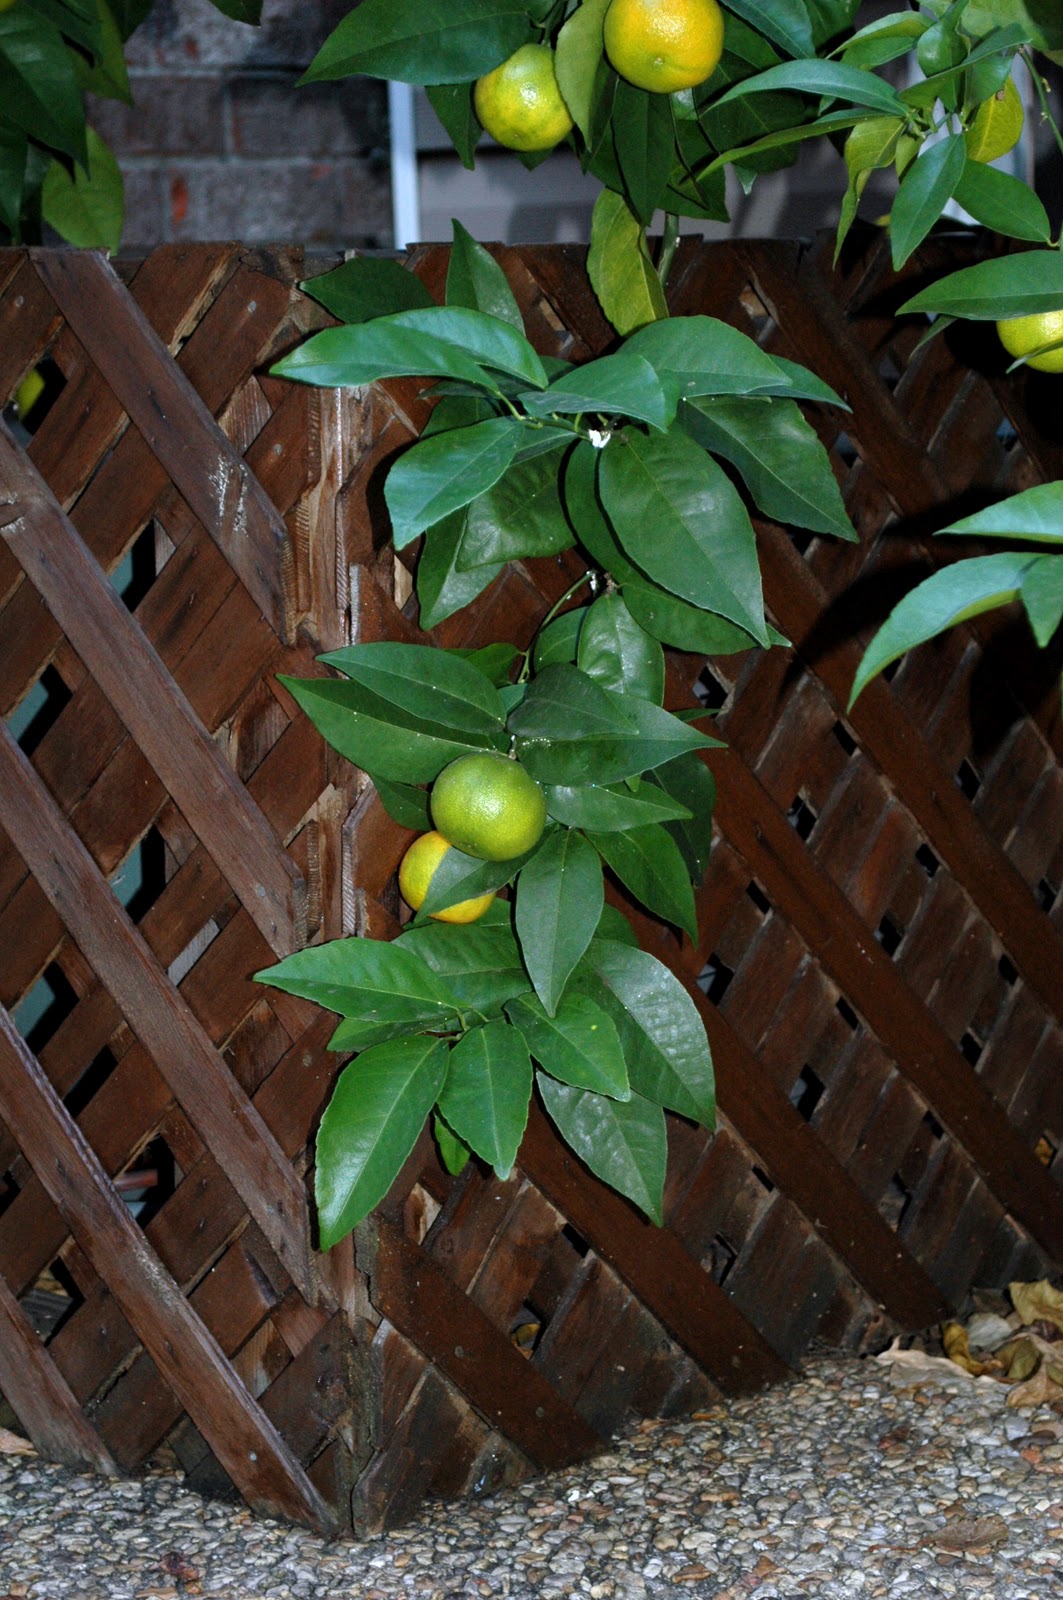
Our orange tree is beginning to take over our patio. Husband's grandfather has some truly impressive orange trees. I think it's hereditary and that gene was passed on to Husband. We have to wait until January/February (after a good frost) to trim the tree, to ensure we get beautiful, fragrant blooms in the Spring. We did that last year and the blooms made the entire patio smell wonderful. Now, our tree is covered with oranges.

And, lastly, the area by the back door.


The bright blue bins are stacking recycling bins I picked up from Lowe’s, link here
All of the plants belonged to my Dad. He loved to garden and had quite the green thumb. Dad was always buying plants or breaking off stems to grow his own at home. This airplane plant came from a little snippet he took from one while we were visiting a plantation about 11 years ago. This is one of about 20+ plants he grew from that one snippet.

Seriously, this man could grow anything or bring any plants back to life. He did not pass that trait on to me. So, I would rotate plants with my dad. As I killed them, I would bring them back to him to restore and take some damned new ones. Rinse and repeat. I think when he passed away, he gave that gift to my mother who always had a black thumb before. She killed a cactus once. Now, she’s been growing herbs like crazy and has kept all of Dad’s plants alive and thriving.
Well, that completes the (overly) detailed tour of our more functional and atheistically pleasing patio! Now it’s time to prop my feet up with an ice cold alcoholic beverage.
 |
| He's of legal age in dog years. |
In case you want even more details, here’s a budget breakdown:
• Patio set, including small table and four chairs: $60
• Lounge chairs cushions (2): $60
• Lounge chairs: Free from in-laws (Thanks Comeauxs!)
• DIY canopy: $20
• Recycling bins: $30
• Side tables (2): $18
• Bucket for towels: Free from friend with a pool (Thanks Cormiers!)
• Plants: Free from family (Thanks Mom and Dad!)
• Various paint and supplies: ballpark it around $30 because some was on hand
Grand Total : $140!
Sa-weet! I do recognize that not everyone has generous family who is just giving crap away, so I found some affordable look alikes!
 |
| Via here |
 |
| Via here. With a 20% off coupon, this chair is around $40. |
As always, craigslist and thrift stores are excellent sources for affordable options. Or you can wait for friends and family to spend lots of moolah on new stuff so you can unload their old stuff. A little spray paint goes along way!
In case you don’t feel like scrolling up to see the after again, here it is!
|
| Special thanks to Ty for being such an adorable tour guide! |


Nice CC! - Husband
ReplyDeleteLooks great! What great in laws!
ReplyDeleteI stumbled this!
@Just Jaime
ReplyDeleteI definitely hit the in-law jackpot.
@Anonymous
ReplyDeleteWhy thank you, Husband. Glad you like it. :)