While doing a little surfing, I found this gem from henryhappened.com.
 |
| See the original post here. |
Stephanie has some other really great DIY fashion items but this one really caught my eye. Her calypso bracelet knockoff. I liked that she saw something in a store and realized she could make her own version for much less. My kind of gal! I loved that the bracelet was so easy to make, because anything more complicated than this might have been too intimidating. I’ve never really made jewelry before. Sure, I’ve added charms to necklaces and braided my fair share of friendship bracelets (nothing fancy though) but that was the extent of my experience. This seemed simple enough to dive right into though.
Here are my supplies, purchased at Hobby Lobby during a 50% off sale:
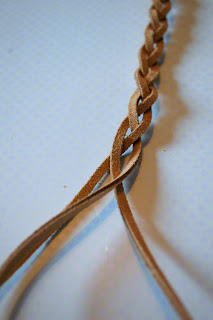
- Leather strips/strands
- Long chain ( I chose one with larger links.)
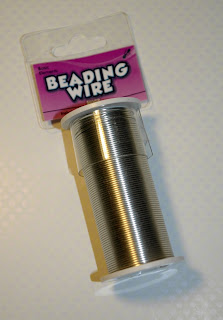
- Beading wire
- Some clasps
I had intended to get the same materials in the inspiration bracelet but, while in the jewelry aisle I thought, why not try to make an edgy bracelet? Is that even a term in jewelry? Who cares! Let’s get leather! Because I went with a thicker chain and heavier material than thread, I used the beading wire to keep the braids together, instead of just a ribbon clamp.
I wrapped the pieces around my wrist a few times (with a little extra) to get the correct measurement. I originally tried to make the bracelet with two strands of leather and one strand of chain braided together, like the inspiration photo, but it just didn’t mesh right. So, I made a simple leather braid and then wrapped the chain around it. The beauty of this simple project, if you mess up it’s no big deal to start over.
I secured both ends with the beading wire. I made the wire kind of messy looking which also added to the edgy look. That’s it, I’m making it a word.
 |
| Tip = I waited to cut off the excess leather until the bracelet was complete, clasp and all. That way, if it was too short, I could redo without wasting materials. After all, I'm new. |
Then, I simply attached some clasps to the wire. That’s all it took.
Here's my edgy version of Stephanie's bracelet.
I may still make a bracelet more like Stephanie’s. I really enjoyed making my on jewelry, even if I have yet to wear it. It’s going to happen, I swear! It was a fun project to try and I’ve certainly got my wheels turnin’ for more DIY jewelry.
Just like my desk makeover, I was inspired by something I saw on a blog, decided to try to recreate the look on my own, and then went in a different direction. Apparently, I’m extremely scatter brained. At least now I have an edgy bracelet.
What about you? Have you ever been inspired by something and then went and did the opposite? Do tell! I’d love to know I’m not the only one! It makes me feel less crazy.


No comments