Showing posts with label Organizing. Show all posts

Happenings at Zodirowe

Do you ever have those days or weeks (or even months) where you feel like you’re not making any progress on your goals? Yeah me neither.

HA! Fooled you! I totally feel that way! Like, most of the time.  Sometimes I feel spot on and like I’m making great progress. Not lately though. Lately, I’ve been feeling stalled. Well, not stalled because I’m constantly working on things. How can you be stalled when you’re always moving? I supposed I feel….. like I’m going no place fast. Unfortunately, the added “bonus” (whatever) of this feeling is that I don’t think I have anything worth blogging about.

Then, I had a light bulb moment. That feeling of constantly working but never making progress IS something to blog about. I know there are other people in this world who feel the same way sometimes! This was confirmed by one of my best buds, Carrie. We talk a lot about our never ending To Do lists and about get-to-eventually-hopefully projects. We’ve discussed, at length, how we just wish we could make headway on our home goals but we feel like we’re constantly working. We talk about other things too. Like mortgages and health insurance. Man, we’re getting old.  Anyway, it’s a pain we’ve both felt.

If you’ve had this same feeling, I’m afraid I don’t have an awesome solution for you. Other than the usual, focus on one thing at a time, make a list, blah blah, and all that we’ve heard before.  I do all of those things! What else is there to try?

I got nothing. BUT, I do have something that makes me feel a smidge better. I make a list of things I have done, even if it’s the smallest, most insignificant thing. So, here’s my list of things I’ve done that will make me feel better about myself. Also, proof that I DO THE THINGS! Honest! I swear!

1. I cleaned out Husband’s closet and started to organize it.


For the record, I don’t consider this project done. Not even close, really. The plan is to purge some clothes, get matching baskets for the top shelf, label those baskets, fix the door, get some cubbies like what’s in my closet, and take out that bottom bar/rack because Husband needs more hanging space.  I plan on blogging about the whole process, with pictures, when it’s done. In the meantime, this is just a little pat on the back for moving in the right direction.

2. I sorted through a bunch of old papers I found after working on Husband’s closet.

 You know these are old because there are bills from Cingular in here. That’s old, yo.

This bag and another box were in the top of Husband’s closet (as seen in the closet before photo) and were hiding mounds of old papers and mail. Husband, God love him, sucks with mail. It was almost an issue with us when we first lived together. Piles were plentiful until I took over the mail sorting chore. I didn’t want to in the beginning because I felt like I was encroaching on Husband’s stuff. Then, I got a ticket in Husband’s truck because he didn’t have an up-to-date insurance card in his truck. His new card was in one of the piles somewhere in the house. Ok, in all fairness, I also couldn’t find my license and my name wasn’t on the registration because we weren’t married. It was like I was an unlicensed driver driving a stolen, uninsured vehicle. I’m lucky I only got a ticket.  So, when we got married, I started to go through and file all of the mail. No more piles!

Well, there weren’t any more piles. I’ve been sorting a small stack of papers a day until I widdle this down. I have no idea how long it’s going to take but most of it is trash. I’m still sorting it because there might be pictures or birth certificates in here.

3. I made another pillow. Just for quick kicks.

Same fabric used here.

4. I’ve been changing the décor around here.


After the Christmas décor came down, I suddenly had a blank slate. I felt like it was time to change things up. I’ve been slowly but surely adding some new pieces and rearranging some old pieces around the house. This little vignette (that almost sounds too fancy of a word to use for some jars and ticket stubs) consists of travel momentos. The jars are filled with bits and bobs from our trips. From left, our Cancun trip with my in-laws, our first vacation together to Washington D.C., and various trips to Florida. We go to Florida every year so I just add to the same jar.

The small piece of black pottery is from our recent Cabo trip. The ball in a cup is an inside joke from another Mexico trip. The vintage camera is just cool and adds to the “World Traveler” theme.

5. I’ve added some real live plants around the condo.

Lucky bamboo from Wal-mart

Water Hyacinth also from Wal-mart

I don’t know if you can consider this an accomplishment but I do. I’ve been trying to breathe life into our home and this is a sure fire way to do so!

6. I made some jewelry.


Here are a couple of necklaces I made. I made the top necklace following this tutorial from henry happened. The other two bottom necklaces were made using some clearance beads I bought for $2 and a deconstructed necklace from my mom.  Cheap and easy, just like I like them! Yeah, I went there.

7. I've been labeling things like crazy.

I've been living in this condo for 4 years and I still couldn't remember what these switches did.


8. I’ve been having fun making art.


This piece was inspired from the melted crayon art that has been popping up all over Pinterest. I’ve also been having a good ol’ time with watercolors, acrylic, and more paint chip style art. All of this fun stuff is being used for another, bigger project which is …. (see #9)

9. Updating the living room!

New curtains!

New art!

That is correct. I’ve been making changes to the living room. New curtains, new décor, new wall décor (which is where the art work comes into play), and even a new little entryway rug is all happening as you read. Posts about that also coming soon. If I don’t shoot myself first. Ugh. So many bumps in the road. BUT! I can kinda see the finish line! Is that the finish line? Honestly, I can’t see a damn thing.

I think #9 should count as two things because I made curtains and I’m hanging new wall art. So, that’s 10 things I’ve been doing and making progress on around here.

Ah, I feel better already. Do you need a little boost? If so, feel free to list anything and everything you’ve accomplished! I mean anything! Did you fold a load of laundry? Get the mail from the mailbox? Finally put that pesky fork in the dishwasher (other dishes aside)? Put on pants? It all counts!
3

Clearing the Man Closet. Again.

I shared with you our Man Closet organization here.  This closet is home to tools, electronics, Husband's shoes and laundry, winter coats, and a few other miscellaneous items. Although, given that I’m usually the one who builds/paints/sands/uses the tools, Man Closet may not be so appropriate. Ah well, most of Husband’s stuff is in there so I guess it can keep its original moniker.

As previously stated in the first post about this closet, it can be a catch all for random junk too. I tend to shove stuff in there if we have surprise company, because it is conveniently located downstairs. Who am I kidding? I’ll throw stuff in there with planned company coming over or just because I have no idea where to put a new item. I’ve become much better about finding homes for things, which doesn’t include this closet.

Even with my better organizational practices, this closet still gets messy. Here, see for yourself.

Floor? What floor?

*sigh* Unfortunately, a lot of the stuff that’s on the floor actually BELONGS in this closet. Hard to believe, I know. The Man Closet just never seemed to stay orderly, no matter how often I cleaned it out or how diligent we are about not shoveling random crap in there. I realized my problem with the Man Closet was a lack of proper shelving. You see, the shelving that we had in there was just some cheapo bookshelves I got in college that seemed too useful to get rid of. Notice I said seemed useful.

The problem with these shelves is that they just aren’t deep enough (jlyv) and they don’t hold much. My tool bag was just a smidge to wide and would topple over, making a big mess on the floor. When everything would be scattered on the floor, (with no time to pick it up) I wouldn’t be able to get into the closet to put things away and whatever was in my hand, would be put on the floor instead.

My *ahem* frugal sensibilities never allowed me to buy new shelves. Why would I spend money on new shelves when I have these? I can make these work!

Lies. Lies. Lies. All lies I’ve been telling myself.

I finally had to admit to myself that my cheap shelves just weren’t going to cut it. It was time to buy proper shelving. *head hangs in defeat for about a second before realizing this means she can buy new organizing stuff*

I followed the rules of organizing and cleaned out the closet first. That way, when I spent money on something, I knew it would be the right thing. Just like last time, I emptied everything out of there. I was even more ruthless than before.

Well, almost everything. 
I know it may seem silly to some to reorganize a space again and again but there are some advantages. For example, I knew what was working with the current system and what needed to be changed a little. I also had a better idea of what we really didn’t need to keep because, even with easier access to certain items, we STILL didn’t use them.

Don’t worry, I consult Husband about his stuff too. Husband’s method of helping me declutter a space consists of me sorting through what’s his, putting it in a pile of its own, then holding things in front of him and asking, “Get rid of this? How about this? Do you really need to keep this? You haven’t used it.” And so on until we’ve sorted all of his stuff. Then, I figure out how to organize it all after asking him some questions about what he needs from the space.

It may seem like a lot of work for me (it is!) but it’s the best way to get it done. Husband is more on board to declutter if he doesn’t have to leave the couch. I can’t blame the guy. I declutter constantly and not many people can keep up.

After I had an even better idea of what would be in the space, I made a plan for how everything should be laid out. I took into account what I grab for most and what kind of organizational system would fit in the tiny closet. I also took into account what kind of baskets and whatnot I already had for organizing the small stuff. I was open to buying anything that I might need to organize the space (who doesn’t love buying baskets? No one, that’s who!) but I didn’t want to invest too much moola in this project.

I knew simple metal shelving, like I have in the office closet, would be the most versatile and inexpensive solution. I thought about one of those really super awesome shelving systems that attach to the wall but, we are still planning on moving this year so I want something we can easily take with us. I’m not sure what kind of organizational set ups we’ll need in the next house, but basic shelving works almost anywhere. They’re a safe bet.

These are fabulous but, at $700-$1000, not worth the investment for a condo we’ll move out of in less than a year. Via here.

I measured the space and picked up some more metal shelving from Lowe’s. I love this shelving because it is completely adjustable, inexpensive, easy to assemble, and still pretty sturdy. This shelving is also deeper which is great since one of my biggest issues with my previous shelving was that stuff would tip off the shelves. No more tipping! Yay!

Ty gave it a thorough inspection.

I bought black because it was on sale. I can only fight my cheapness for so long. These shelves are available here, on Lowe's website. No, I am not being compensated for this post. I just like the shelves and these are the cheapest I have found locally.

I put my new shelving in the closet and loaded her up with my newly organized tools and such.

It may not be magazine worthy but it works and it makes me happy. That's what matters!

And that’s all I purchased! I was able to use containers and boxes from my stash to store and organize all of my tools and junk. So, I only spent $28 (because of the sale price) on my Man Closet overhaul and the space is infinitely more useful and organized! Love that!


Everything pretty much stayed the same, as far as how it’s organized. Electronics are separated and stored in the white drawers under the shoe organizer. Tools, cords, and BBQ tools are put away on my new shelf. Husband’s boxes and misc. whatnot are stored in the back of the closet. Yes, I kept one set of the brown shelves because I couldn’t find anything that would fit under the slope of the stairs. Plus, this shelf works just fine for organizing Husband’s boxes for his ebay stuff. Why replace a shelf that works?


Some items we want quick access to, like the back massager after those grueling work days, are hung on hooks on the wall. This way they’re off the floor and easy to grab.


Same goes for Husband's hats and motorcycle helmets. His helmets were originally on some of the shelves but that real estate was way too valuable for rarely used items. Especially for an item that can be hung on a hook so easily.

Even with the deeper shelves and stuff on the wall, we can still fit back here to access everything. It has been weeks since I re-organized the Man Closet and it STILL looks like this. Honest! Tools have been so easy to put back in their proper homes that it has encouraged me to keep it clean. Even Husband, who recently got some more boxes, placed them neatly in the back of the closet, as opposed to just plopping them on the floor at the door (a rhyme!), so I was able to grab my tools with no trouble! It has been wonderful to always see this closet organized and clutter free.


To think, all I needed was a $28 shelf to get me to organized bliss. Why did I fight it so hard? Have you ever done that? Put off organizing an area because you thought it would cost too much? Did it end up being a cheap endeavor instead? 
0

As promised. . .

Remember this?

From this post.
 Let's take a closer look at what's wrong with that picture.

Eek! Ok look away look away!

This is the cord situation under Husband's desk. His hobby requires a lot of tech stuff, aka cords. Sarah would declare this a science fair. Yeesh. This is an easy enough job to tackle.

Especially with the right tools!

Thanks to some command hooks, cable ties (I forgot to photograph) and these little cable hook thingies (that is totally a technical term *ahem*), I was able to clean up this catastrophe! I bundled the cords together with some small cable ties, attached the hooks to the back of the desk, and then hung the cords. Out of sight out of mind! FYI, when you stick the black hooks to something, they REALLY stick. No drying time necessary!


Yes, cords are still visible. I couldn't have everything tied up too tight because Husband needs some slack in his wires. Why did that sound dirty? Or was that just me? Anywhosit, I consider this a vast improvement in our cable situation. And if anyone were to peek that closely under our desk and complain, they probably wouldn't be invited to our house anyway.

This clean up took about 20 minutes total. I probably could have done it in half the time if the dog hadn't farted while sitting under the desk with me.

Don't let that sweet face fool you. His gas is terrible.

2

Recipe Organization

My recipe binder had gotten out of control recently. I was in the terrible habit of just shoving pages torn from magazines into the binder, with no thought given to categories or anything else. I also had a lot of recipes that seemed like a good idea but, let's be honest, they would never see the light of day. I'm still pretty amateur in the kitchen and some of those recipes were too ambitious.

I was pretty ruthless with what stayed and what was tossed in the recycle bin. If the recipe called for ingredients I knew I never have or would be difficult to find, it got tossed. If the recipe had terms I didn't understand, it was also tossed. I even had duplicate recipes; same dish, just with slight variations.

I don't have any good before pics but here's a look inside!

Binder is from Target.

I use dividers with pockets to break my recipe binder into categories such as Breakfast, Appetizers, Dinner, and Dessert. Recipes that I want to try go into the pocket of the corresponding section. Tried and true recipes go into clear plastic sheets, which keep them protected from spills. Those happen. A lot.

Pocket = Stuff to try. Sheet protectors = Crowd pleasers to make again.
Since some recipes don't take up an entire page, I cut and tape them together on a sheet of plain paper. This way, I have fewer sheets taking up space in the binder. Those clear covers make for a phat fat binder.

Four different recipes but only one sheet!
I divided my dinner section into sub-categories. This makes menu planning easy because I can keep all of my chicken recipes together, for when we want chicken. I simply attached some blank adhesive file labels to the bottom of some dividers.


And that's that! Easy peasy!

Do you have an easy method for keeping your recipes organized? Does it ever get out of control anyway?
1

A space never really stays finished, does it?

Awhile back, I posted about my entryway organization. This space has served me well but I still felt it was lacking something. I had a place to write and posts notes, but I was annoyed with having to open the cabinet door (which usually had my purse hanging on it) just to get a post it or a pen. First world problem!

My entryway before.

I didn’t want to clutter up the top of the cabinet because, a.) we use this space to entertain so I wanted to keep it streamlined for company, and b.) I like clear surfaces. I just do. What’s a girl to do? Turn to the internet, of course!

Since I wanted to leave the surface as clear as possible, I knew I would need to take to the wall. I checked good ol’ Google and Pinterest for some inspiring wall organizers. After waaaaayyy too many hours looking around, I found a couple of favorites. Please tell me I’m not the only one who wastes time by looking at pretty and organized spaces?

I love this one but for $425, I feel intense pain somewhere in my wallet.

Real Simple had a great article featuring wall organizers.

Via here

So much storage and function in so little space!. Via here.


I have always lusted after the Daily System from Pottery Barn.


Hubba hubba. Via here.

However, $54 for a magnetic whiteboard hurts me in my wallet as well. The basic parts of the system are inexpensive though. It’s just some memo boards with a few hooks and magnetic containers. I already had some of that in place.


I just needed to incorporate a place for pens, something with easy access to hold post it notes, and I liked the idea of a chalkboard too (especially since I had so much paint leftover after this project). I dug around my stash of organizing goodies to see what I could re-use, so I could keep the cost of this project near zero. This is one instance where my hoarding paid off!

I found a magnetic pocket, an unused 8x10 frame, some magnetic sheets (leftover from here), and a magnetic pen cup I was already using inside the cabinet. To create a spot for notes, pens, and what not, I simply taped the magnetic sheets to the glass of my rediscovered frame.


I didn’t like the orange polka dotted pocket, so I used a little glue to attach some scrapbook paper scraps.

This paper seemed fitting because I kind of have a travel theme going on in the dining room/entryway.


Once the glue dried, I just put it all together. As luck would have it, the frame itself is magnetic too! So, I have that much more space to attach notes and junk.

I picked up the frame years ago from Target.

Now, I needed a place to keep a running list of what was hiding in my entryway cabinet and any messages I might want to leave myself. As much as I love me some chalkboard, I can’t deny that white boards are easier to wipe clean. My “To Return” list is constantly changing, so it needs to be easy to erase items. But. . .chalkboard. . . is just cool. So, I met the two in the middle. Literally. I taped off the glass of my previously mentioned dry erase board (which is really just a frame with some pretty scrapbook paper) and I painted half of it with chalkboard paint.


A little tip for you, make sure you make a good seal with your painters tape. I used the handle of my brush to press down the edge of the blue tape. I’ve read that green Frog Tape is way better than the blue stuff, but I’m on a tight budget. Use what you’ve got to the best of your ability!


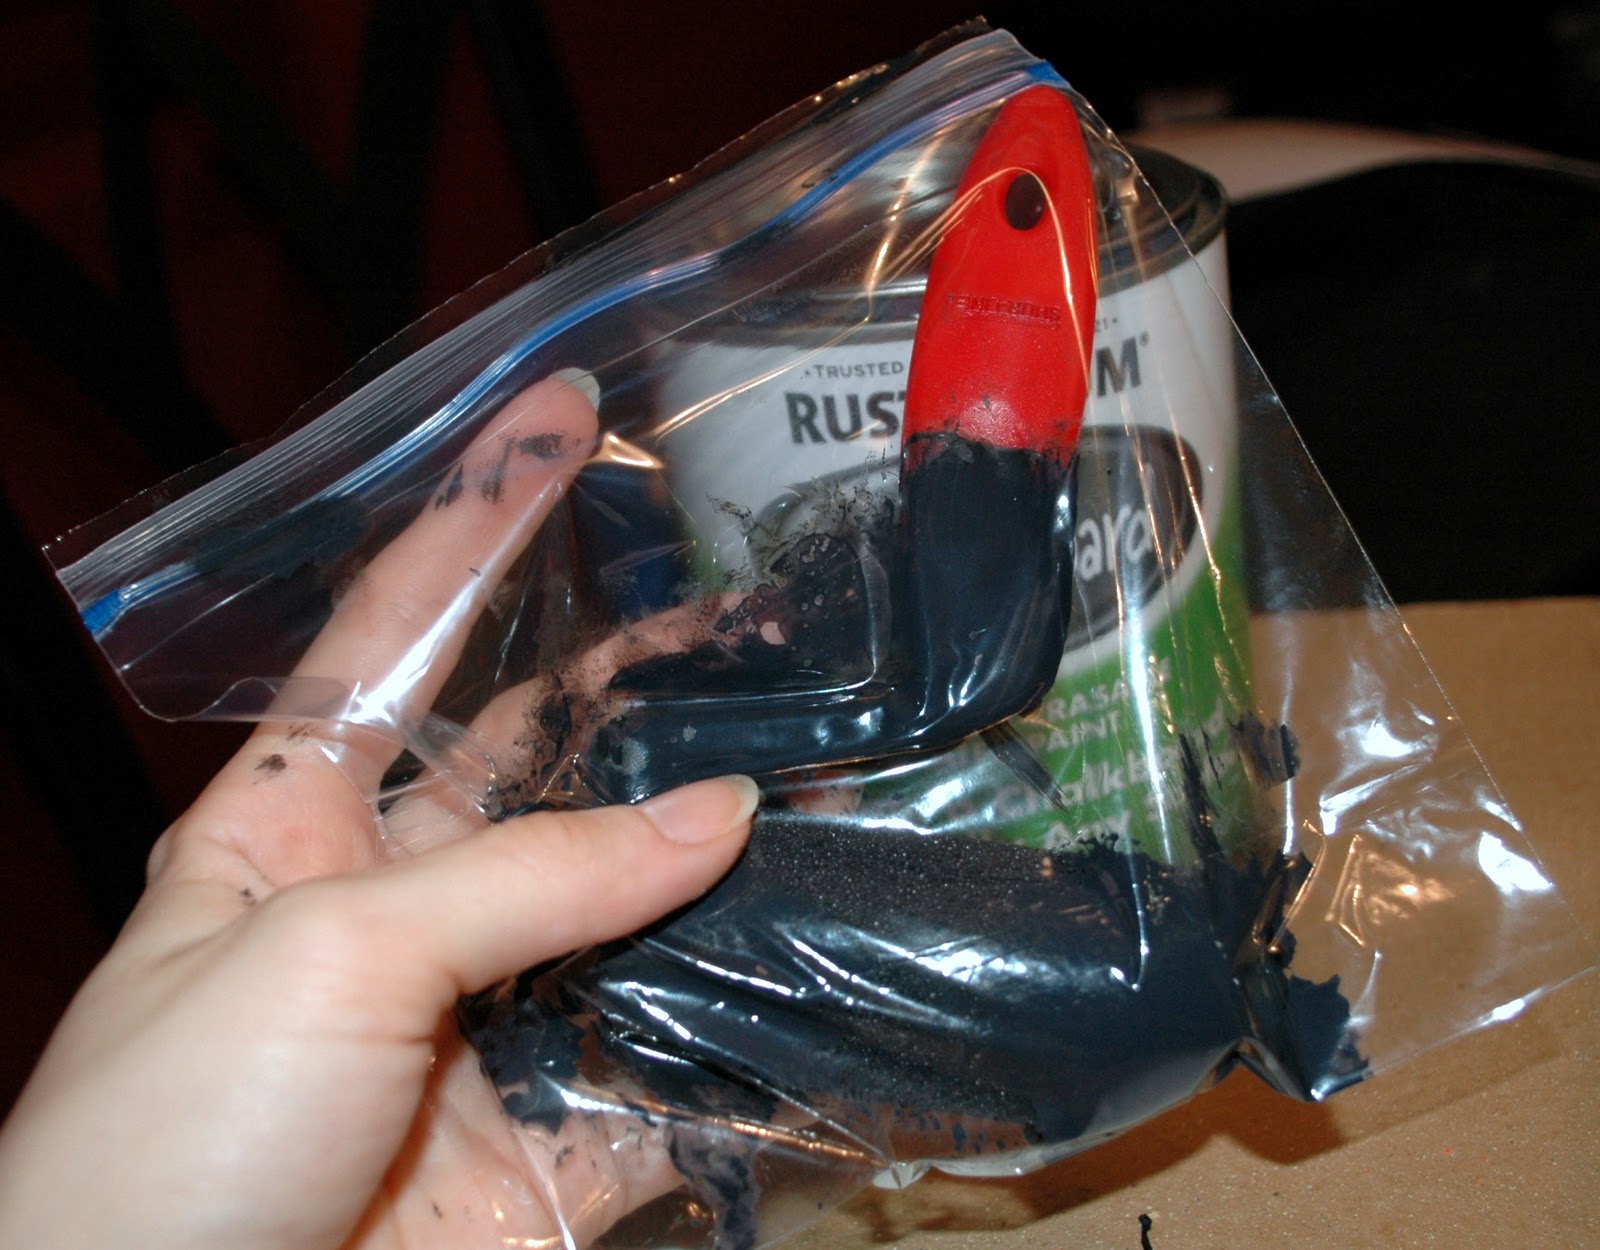
And yet another tip! I put my paint roller in a ziploc bag so I didn't have to wash it in between coats. This way, I didn't waste paint (not like I have a surplus or anything *sarcasm*) and it is one less thing to worry about. Make sure to squeeze all the air out of the bag before you seal it too!


Immediately after my second coat of chalkboard paint, I carefully pulled off the tape. This is to ensure I wouldn’t accidentally peal off some paint too when it dried.

That there’s a nice paint line!

After the paint was completely dry, I popped the glass back into my frame and finished my little entryway tweak.


I picked up this little wooden bowl from World Market for about $2. I can't find it online. Anyone have a link? I know my keys are a little big for it but the bowl leaves a small footprint.

Since I’m not allowed to make lots of holes in the walls, I propped the frames up on the cabinet. No hanging required. Because of the molding in the dining room, the cabinet doesn’t sit flush against the wall. To avoid losing my memo boards to the abyss having my memo boards fall behind the cabinet, I used some extra metal inserts from an under the sink organizer to create a little shelf of sorts.

Metal inserts are from one of these. These are totally awesome, by the way.

There you have it! A system that is similar (well, in function anyway) to the uber-pricey Pottery Barn System but it only cost me, wait for it. . .  wait for it. . . . $0. Yup. $0. I was able to assemble this with nothing but materials on hand. If don’t have anything like these stashed away, it still wouldn’t cost much to buy the materials.

I don’t remember prices for a lot of these items but I do remember where I purchased them. I’m weird like that.

Frame (magnetic one) – Target - Around $13
Memo board frame – Goodwill
Polka dot magnetic pocket – Target (stationary section)
Metal sheets – Hobby Lobby - $3.50 (with a 40% off coupon)
Chalkboard paint – Wal-Mart (STILL have ¾ of a can left)
Magnetic pen cup – Wal-Mart (was with a magnet board set)
Magnets – Etsy

Unfortunately, some of these items aren’t available any more but I’m sure you could find/repurpose something comparable.

I’m still debating if I should paint the frames and, if so, what color. Should I paint them cream so they pop against the red? Maybe give them a good coat of ORB, but would that give me ORB overload since a lot of items in this space are that color? Maybe a bright accent color? I just don’t know. Until I know for sure, I plan on leaving them as is. If I change anything, I’ll let you know because I know you will be waiting with bated breath!


5

Wishes Do Come True!

Hello all! How was your weekend? I hope it was fantastic!

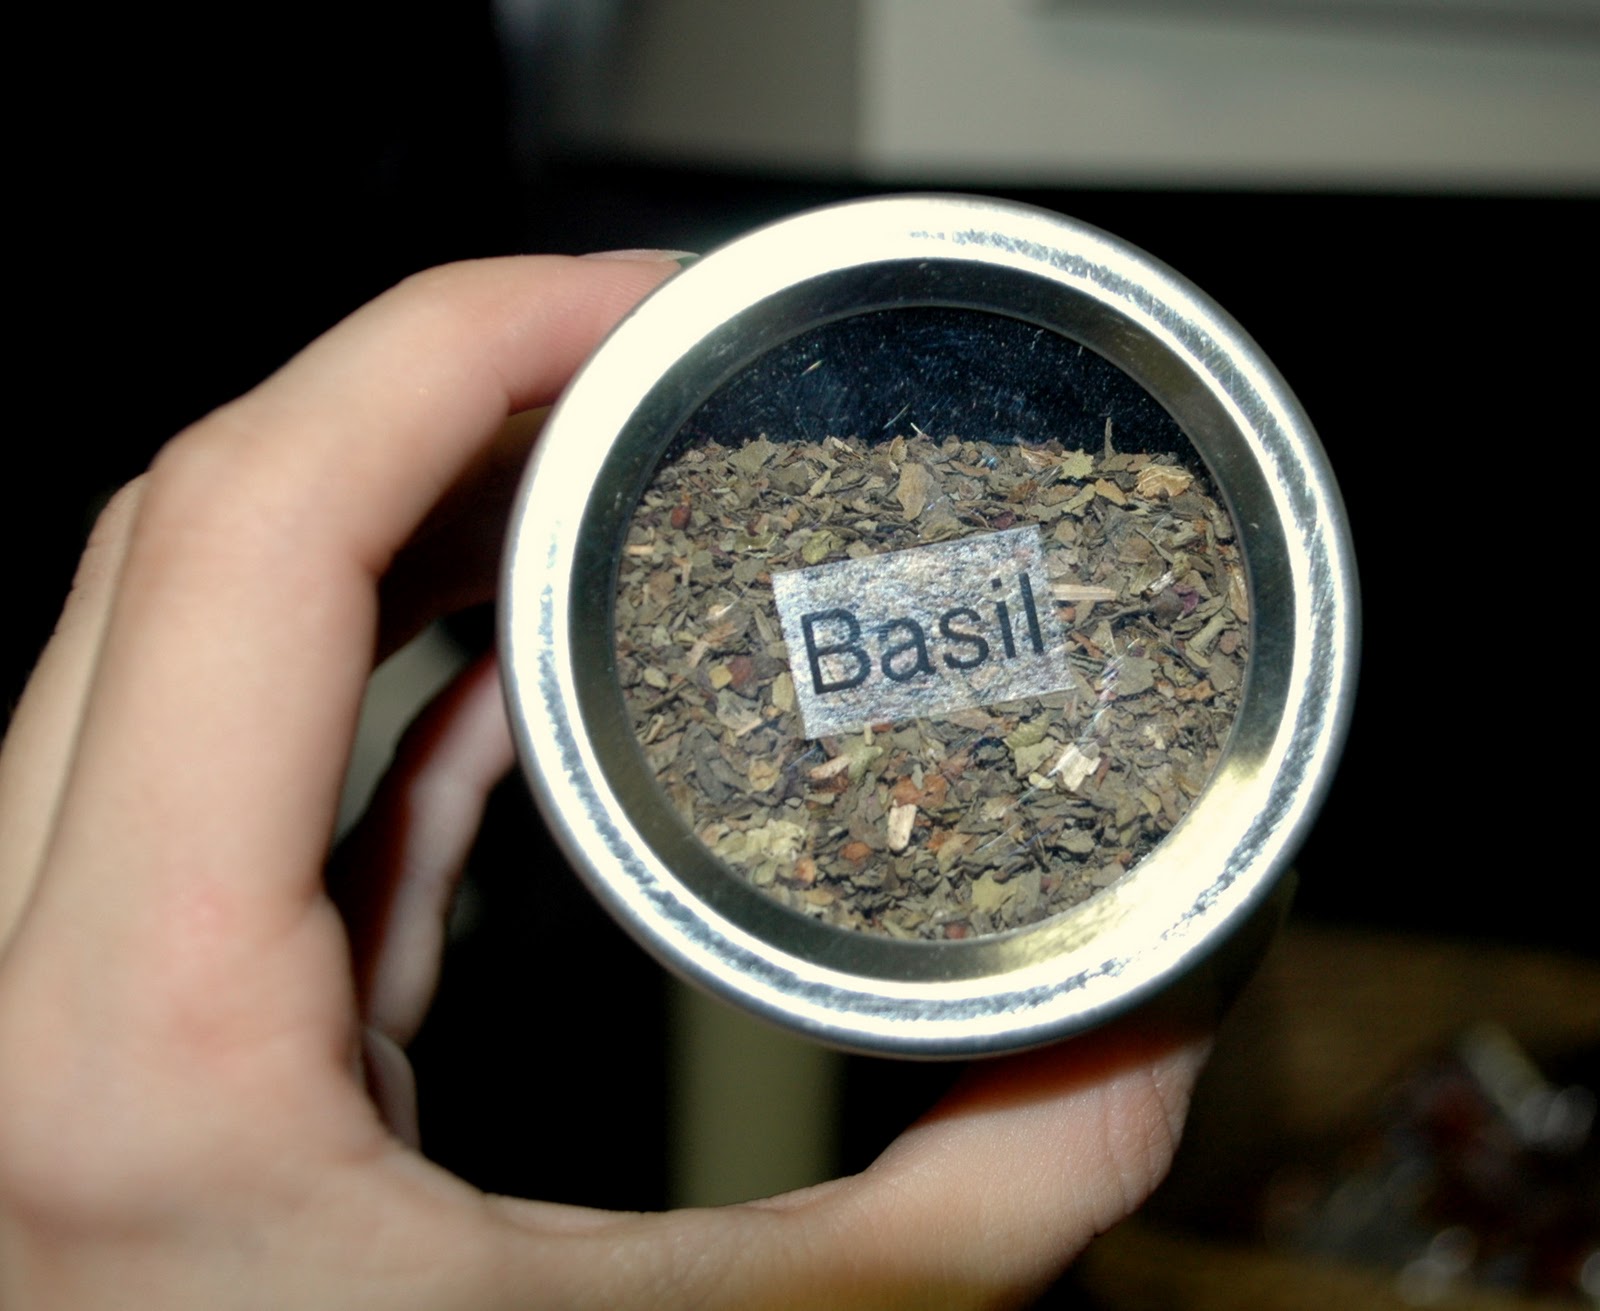
You may remember, but it’s totally cool if you don’t, I had asked for a label maker for my birthday. I wrote about it in this post about organizing my spice tins.

Get yours here!


Luckily, Husband reads my blog (and got my detailed email regarding my Birthday Wish List *ahem*) so he bought it for me!

Oh the things we’ll do together!


He bought it for me on my actual birthday and I finally got around to using it. Yeah, I know, procrastinate much? Anyway, my first order of business was to relabel my spice tins. Here’s what they looked like before.

Crappy handwritten notes. Effective but not attractive.


I few taps on the keyboard later. .  .

  
Here they are now!


 Effective AND attractive! It can be done!


It took .03 seconds to do and I wondered why I haven’t been doing this all along. WHY, I ask?!? So, I labeled a couple of other things around the house.

Picked up the dispensers at Ross for $5.00 and spray painted them Heirloom White.


These dispensers are in our guest bathroom. Now, friends won’t have to guess what kind of goo they’re squirting into their hands! Eww. Gross mental image. Ok, it’s gone now. Moving on.

I’ve read some complaints about label makers in general wasting tape. This one is no different. I noticed that when I typed one label, I got double the tape I actually needed. Not wanting to waste my precious label tape, I typed all of my spice names as one label and just added 2 spaces between each spice name so that I had one really long tape instead of six long tapes. The names were very close together but I think that is a good thing. Less waste = more labels. And isn’t that a beautiful thing?

Yes it is.

Did you have any great labeling adventures recently? Do tell because I love a good labeling story!
5
Back to Top